Evoto’s Auto Import & Export feature streamlines your workflow by monitoring designated folders for new images, automatically applying a selected preset, and exporting the edited results. This functionality is ideal for high-volume image processing and is especially useful when combined with Tethered Shooting.
Overview
Auto Import & Export allows you to:
- Monitor one or more folders for new images.
- Automatically apply a preset on import.
- Export edited images to a separate destination folder.
- Customize file structure, export frequency, and more.
This feature helps automate repetitive tasks, allowing you to focus on creative work while Evoto handles the processing.
Key Notes
- Auto Import & Export and Tethered Shooting can be used in the same project. They function independently and will not interfere with each other.
- The Capture Folder (Tethered Shooting), Watched Folder (Auto Import), and Export Folder (Auto Export) must be separate. These folders cannot overlap.
- Auto Import & Export only works on the active project page. If you return to the Project Workspace or switch projects, the process will pause.
- While Auto Export is active, editing modules are disabled. To make adjustments, pause or stop Auto Export.
How to Enable Auto Import & Export
Method 1: Enable When Creating a New Project
After creating a new project, enable the Auto Import & Export option to configure the feature from the beginning.

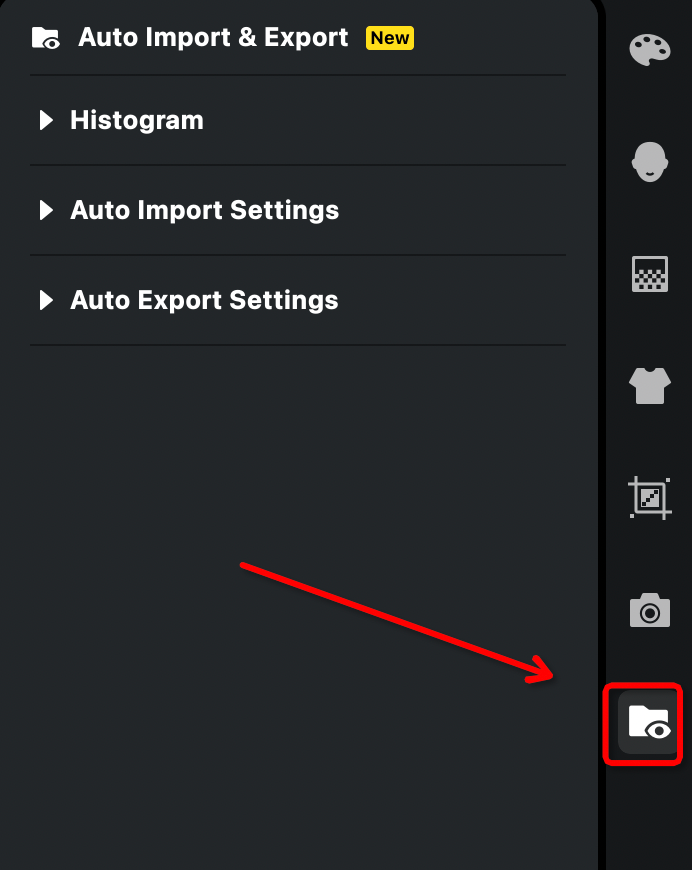
Method 2: Enable in the Preview Section
In an open project, go to the Preview Section and click the Auto Import & Export icon to access the module.
Tip: It’s recommended to set this up in a new project to avoid unintentionally exporting existing images.
Auto Import Settings
Watched Folder
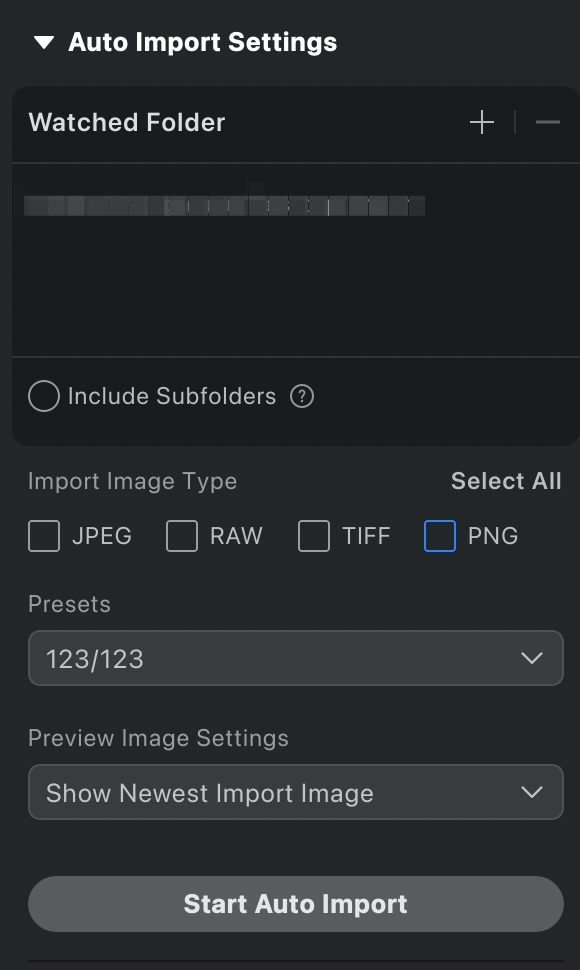
- Select up to 100 folders for Evoto to monitor.
- Enable Include Subfolders to monitor unlimited first-level subfolders within each folder.
Import Image Type
Choose which file types to auto-import:
- JPEG
- RAW
- TIFF
- PNG
(Multiple formats can be selected.)
Preset
Choose a preset to be applied automatically on import. You can use:
- My Presets
- Recommended Presets

Preview Image Settings
- Show Latest Imported Image (default): Automatically selects and displays the most recently imported image.
- Keep Current Selection: Keeps the current image selected even when new images are added.

Start Auto Import
Click Start Auto Import to begin monitoring the folder. By default, only images added after this point will be imported; existing files are ignored.
Additional Notes (Import)
- You can have unlimited subfolders, but only first-level subfolders will be processed.
- Import settings cannot be changed after Auto Import starts.
Smart Import Detection (Resume Import)
Smart Import Detection enables resume capability for Auto Import, ensuring no images are missed even if the hot folder workflow is interrupted.
When enabled, Evoto tracks which images have been imported from each watched folder. If Auto Import is paused or stopped and new photos are added to the folder during this time, these images will automatically be imported the next time you restart Auto Import.

How to Enable:
- Go to Settings > Preferences.
- Find the Auto Import & Export section.
- Toggle on Smart Import Detection.
Note: This feature only applies to hot folder projects that have been previously set up. New projects will start fresh regardless of this setting.
Auto Export Settings
Auto Export Interval
Set how often Evoto checks for exportable images:
- Range: 1 seconds to 1 hour
- Default: 10 minutes

Image Export Settings
Auto Export uses the same configuration options as manual export, please click Start Auto Export to display the full export settings. Check more details in full export settings.
- Effect Preset
- Export Location
- File Name
- Image Size
- File Settings
- Output Sharpening
- Watermark settings

Start Auto Export
Click Start Auto Export to activate automated exporting.
Additional Notes (Export)
- Any image not previously auto-exported—whether from auto-import or manual export—will be exported once detected. This will not consume additional credits.
- Avoid combining manual export with non-RAW replacement when using Auto Export, as this may result in duplicate exports and unnecessary credit use.
- To change a preset or edit settings during Auto Export:
- Pause or stop Auto Export.
- Update the preset.
- Resume Auto Export.
- Original files remain in the Watched Folder and are not modified.
Monitoring Progress
- Import Progress Bar: Displays real-time import activity. Includes a Pause button.
- Export Progress Bar: Shows export status but cannot be paused once started.
Use with Tethered Shooting
Auto Import & Export works seamlessly with Tethered Shooting, enabling full automation from capture to final export.
Example Workflow
- Images are captured via Tethered Shooting.
- Images are imported into the active project through Auto Import.
- A selected preset is applied.
- The final result is automatically exported to the destination folder.
Important Notes
- Do not use the same folder for capture, import, or export. All three must remain separate.
- When using RAW + JPEG, both versions will be imported. If Auto Export is active, this may result in duplicate exports.


 日本語
日本語 한국어
한국어 Español
 繁體中文
繁體中文 Português
 Tiếng Việt