Sometimes a perfect photo can be spoiled by a dull or overexposed sky. With Evoto’s Sky Replacement tool, you can instantly transform the mood of your image by swapping out the sky with just a few clicks.
Step 1: Open the Sky Replacement Panel
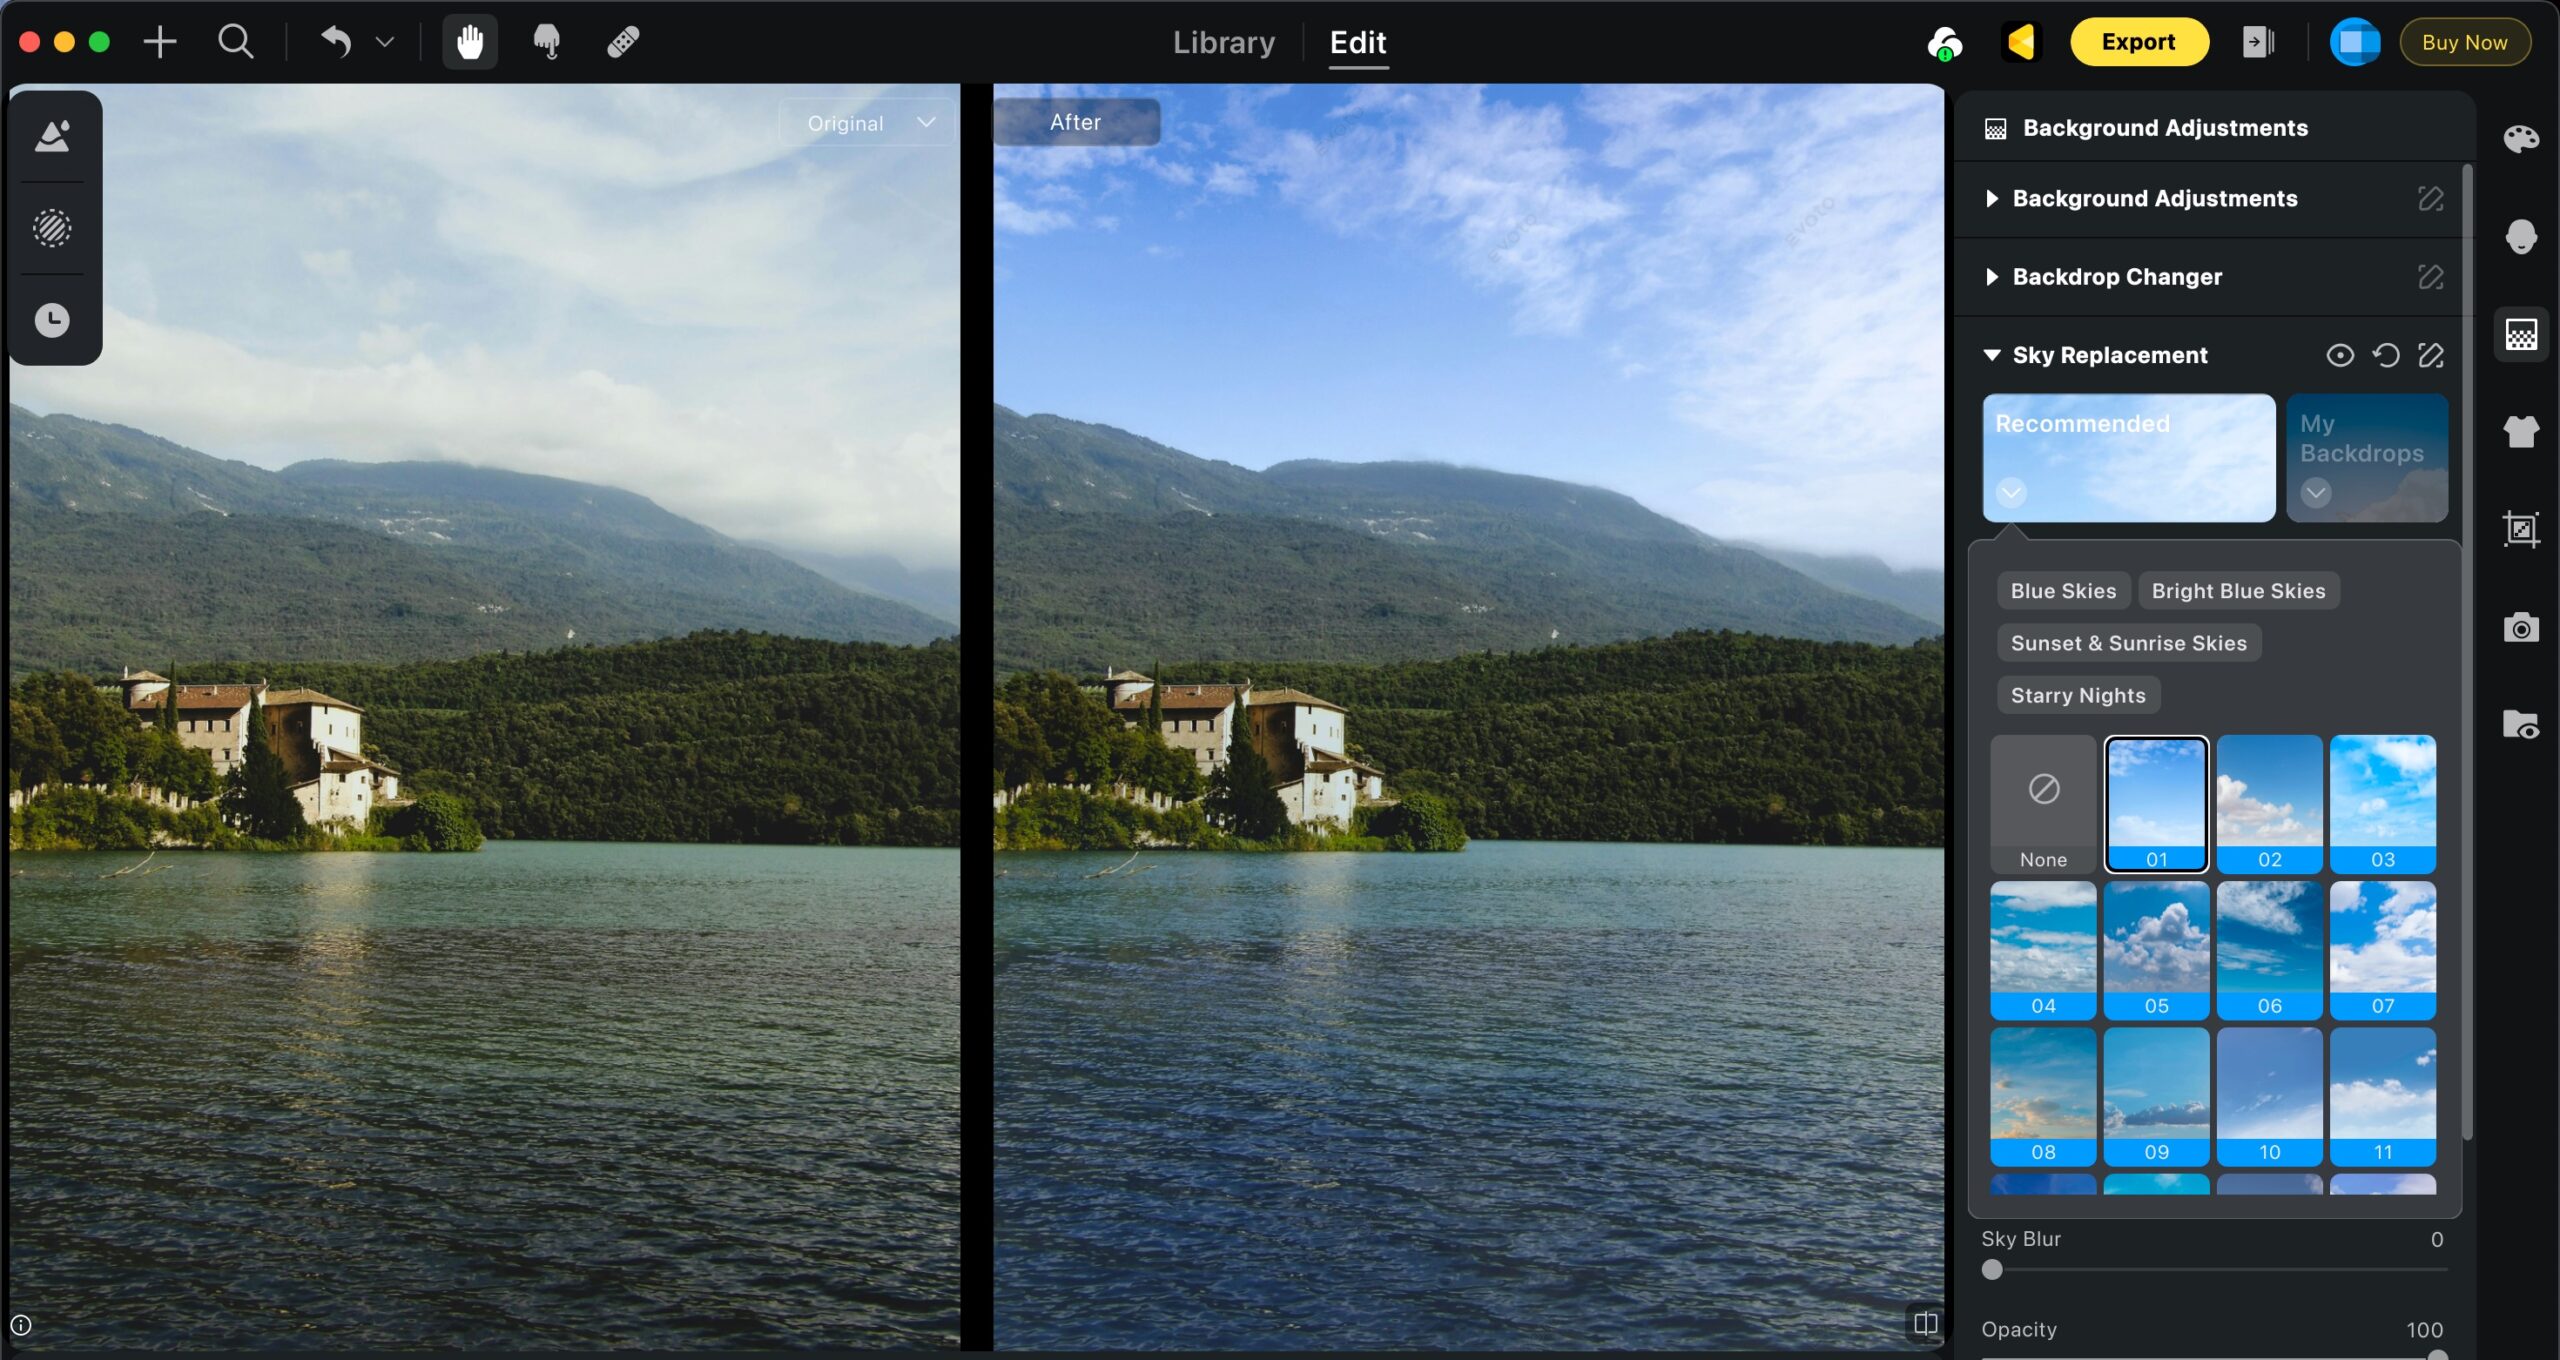
In the Background Adjustment panel (right-hand side), select Sky Replacement. From here, you can choose from Evoto’s built-in sky options or upload your own sky image. Within seconds, Evoto will automatically detect the existing sky and replace it.
Step 2: Adjust the Sky
Once the sky is replaced, you can fine-tune it to match your photo:
- Move or Flip – reposition the sky or flip it horizontally.
- Edge Transition – refine edges so the sky blends naturally with trees, buildings, or mountains.
- Color Adjustments – tweak temperature, saturation, brightness, blur, and opacity to get the perfect look.
Step 3: Match Sky with Foreground
To make your photo look realistic, use the Human & Scenery Adjustment. These help balance the colors of the scene and people with the new sky.

Step 4: Adjust Water Reflections (if applicable)
If your photo has water, Evoto lets you control reflections:
- Reflection Adjustment – align reflections with the new sky.
- Water Blur – soften reflections for a natural water effect.

With just a few adjustments, you can transform any scene into a stunning photo with a dramatic or subtle new sky.


