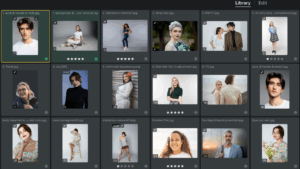
Evoto’s workspace is divided into five main sections to help streamline your workflow and enhance productivity:
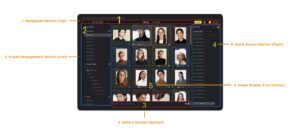
1. Navigation Section (Top)
Toolbar Buttons
- General Buttons: Includes options for Export, Export History, Profile, and Purchase.

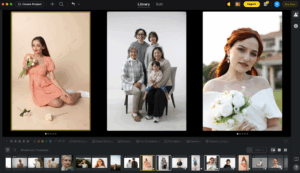
- Library View: Shows additional buttons for Undo, Creating Projects, importing files and searching for projects.
![]()
- Editing View: Displays buttons for Undo, Manual Tools, and a Search Bar for available features.
![]()
Project Search
You can search through projects directly within the Library’s Projects panel using the Search Tool or the following Keyboard Shortcuts:
- macOS: ⌘F
- Windows/Linux: Ctrl+F

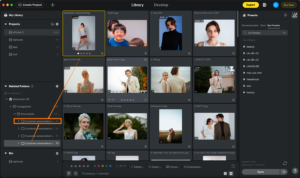
2. Management Section (Left)
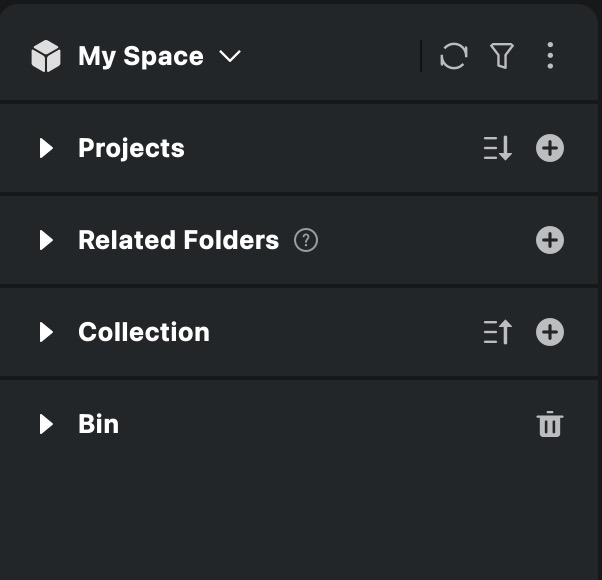
Includes:
- Cloud Space: enables seamless collaboration and cross-device access through cloud-based storage and synchronization. See more details in Cloud Space Introduction.
- Projects: Create, browse, and sort projects by name or last opened date.
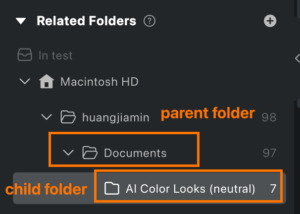
- Related Folders: View and manage the folders where your project images are stored. You can import, create subfolders, move, rename, or delete folders.
- Collections: allows you to group and organize photos from multiple projects without duplicating the original files.
- Bin: Contains deleted images. You can restore or permanently delete them.
The left panel can be resized to adjust the workspace layout according to user preference.
3. Gallery Section (Bottom)
Displays image thumbnails with tools to tag, filter, sort, and view images:
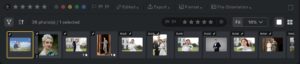
- Filtering: Filter by star rating, color label, flag, edit status, export status, format, aspect ratio, file name, camera, and camera lense. Use the right side of the filmstrip to apply quick marks.
- Sorting: Sort by capture time, edit time, rating, file type, size, or name.
-
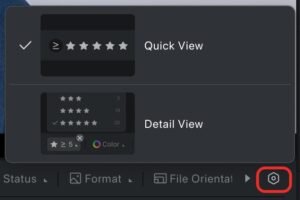
Filter Modes
-
Detail View: Displays the number of images for each rating, flag, and color label.
-
Quick View: Provides a simplified view for faster browsing.
-
- View Modes: Choose zoom level and view modes: Single, Comparison, or Reference View.
The bottom panel can be resized to adjust the workspace layout according to user preference.
4. Quick Access Section (Right)
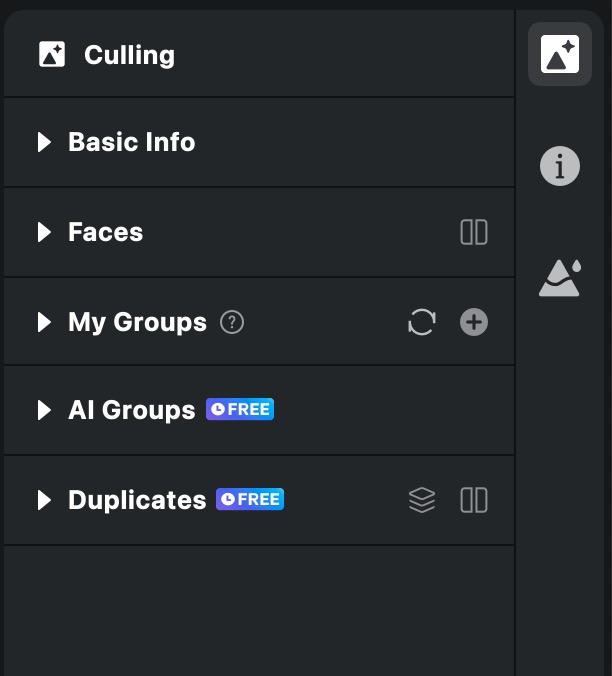
Displays culling tools, presets, synchronization options, and metadata:
Culling
Culling Feature is available in the Library panel, support manual and AI-powered Culling. Check more details in Culling & Organization.
Presets and Sync
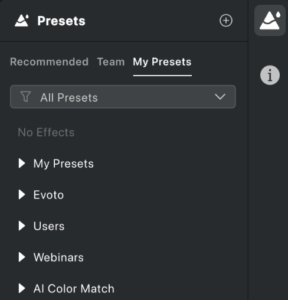
- Recommended Presets: Evoto-created presets to get you started.
- Team Presets: Available if your account is linked to a main team account.
- My Presets: Save, group, import, and share your personal presets.
- Sync: Found at the bottom of the right-hand section, Sync adjustments can be applied to other images in the same project. Supported values include:

- AI Color Adjustment
- Color Adjustment
- Portrait Adjustment
- Background Adjustment
- Clothing & Accessories Adjustment
- Crop & Rotate
Metadata Panel
A Metadata module can be found in the right-hand side of the Library dashboard. This allows users to view, edit, and update image metadata directly within Evoto.
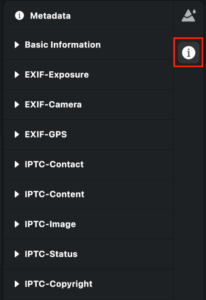
- Basic Information: View key EXIF and IPTC details.
- Batch Edit: When multiple images are selected in Grid view, metadata changes will apply to all selected files. A confirmation dialog will appear before applying the update.
- Metadata Update: Supports full metadata read/write operations, including import/export via XMP sidecar files for better compatibility with third-party tools.
- Folder Refresh:Updating a folder allows Evoto to synchronize with modifications made in other applications, including:
-
- Metadata Updates:Rating systems (stars, flags, color labels);EXIF and IPTC information
- New Photos (automatically imported using Sync Folder)
- Missing Photos (automatically removed)
The right panel can be resized to adjust the workspace layout according to user preference.
5. Image Display Area (Center)
- Initial Setup: If no projects exist, you’ll be prompted to create one.
- Preview: Once a project is created, image previews will appear. Watermarks are visible in the preview only, not in exports.
Importing Images
There are a few ways to import images:
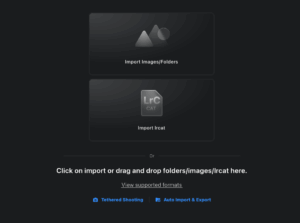
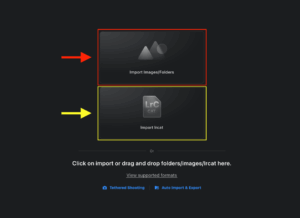
New Project Creation
- Import Images/Folders: Once a new project has been created, you can import images/folders by clicking to navigate to their location, or by dragging them and dropping them into the center view.
- Import .lrcat: Another option is to import an entire Lightroom catalog, also by clicking to navigate to its location, or by dragging them and dropping them into the center view.
- + Button Import: Another way to import into a project is to click the + button in the upper left corner of the Library Workspace. This option is available in both the Library and Edit Workspaces, and with or without images in the project.
![]()
- Drag and Drop: You can drag and drop image files directly into an open project
- Note: When importing into a non-empty project, you can choose to add to the current project or create a new one. LRCAT file imports will allow you to cancel or create a new project.

Organizing Projects with Groups in Evoto
The Groups feature in Evoto helps you keep your projects organized within the Library. By grouping projects together, you can manage a large number of projects more efficiently and maintain a cleaner workspace.
Accessing Groups
In the Library panel, under the Projects tab, you can create and manage groups. Groups act as folders for your projects, allowing you to organize them based on clients, sessions, themes, or any workflow that fits your needs.
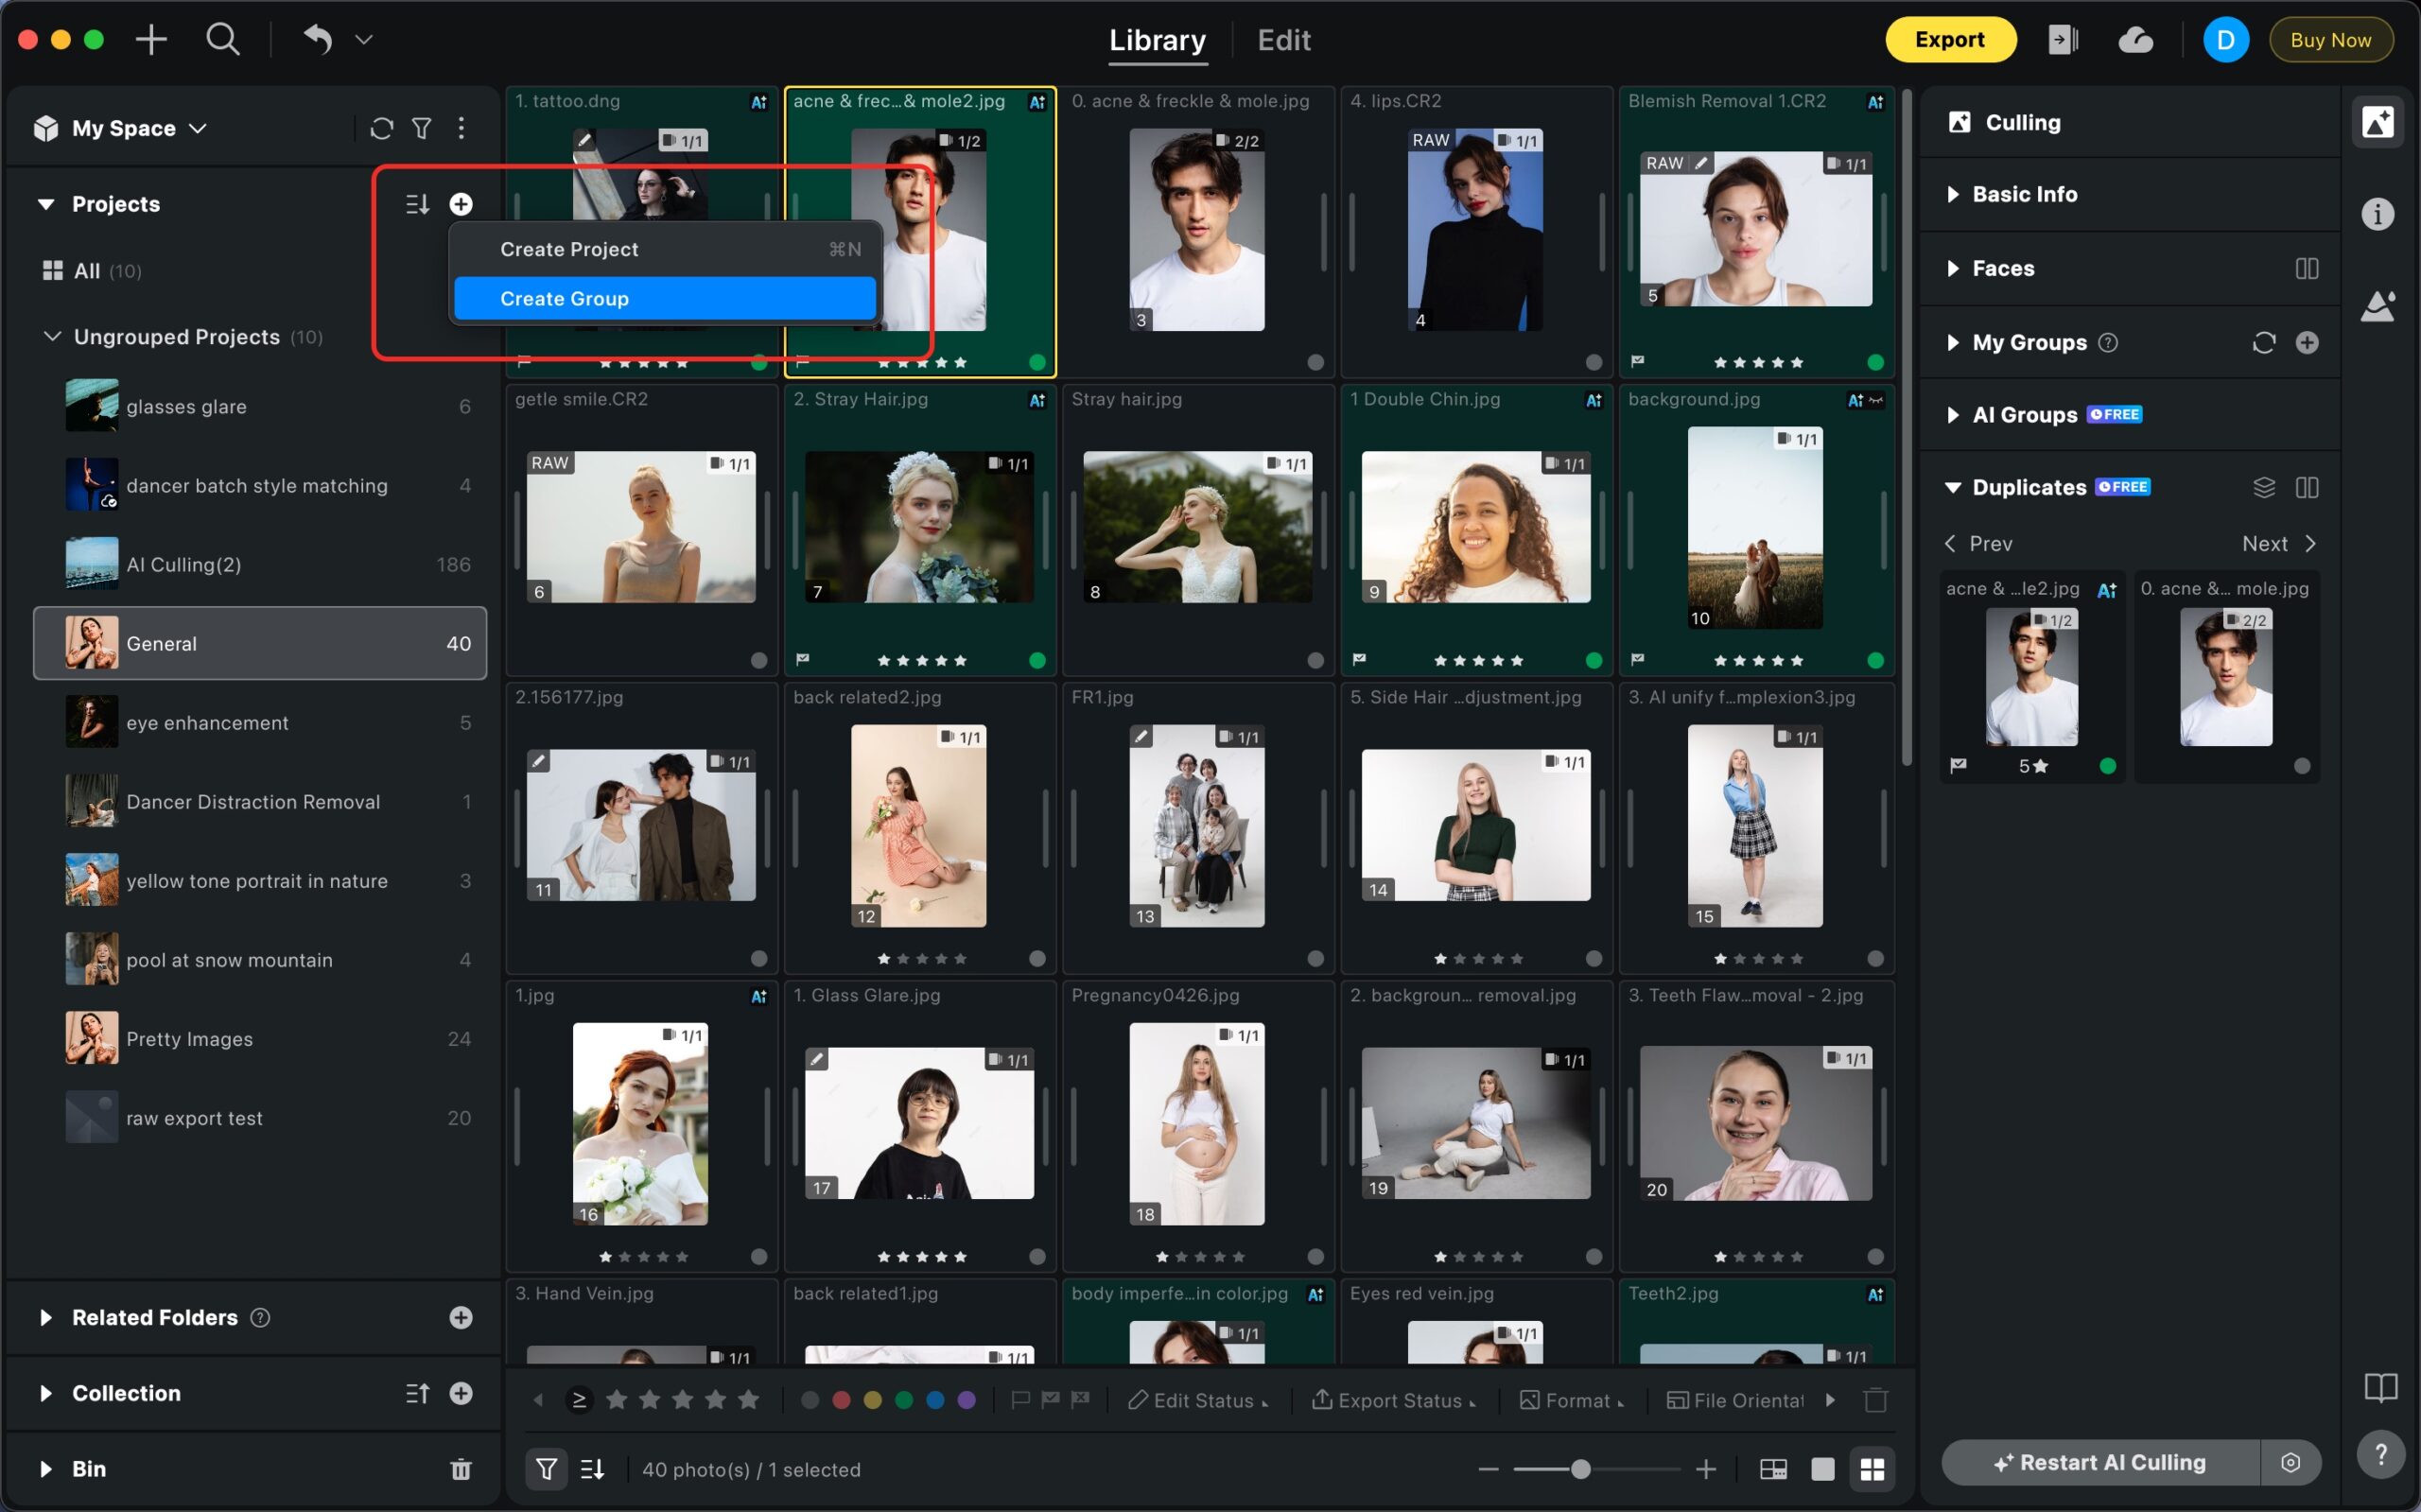
Creating a Group
- Go to the Projects tab in the Library.
- Click the + button.
- Choose Create Group.
- Name your new group.
- Your new group will now appear in the Projects list.
Adding Projects to a Group
You can assign a new project to a group when it is created.
- In the Projects list, select the desired group.
- Click the + button.
- Choose Create Project.
- The project will be created under the selected group.

Managing Groups
You can manage your groups by right-clicking on a group (or clicking the ⋮ menu on the group tab) to access a menu of management options.
- Create Project: Add a new project directly under the group.
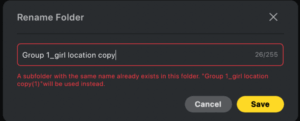
- Rename: Change the name of the group.
- Collapse All Groups: Collapse all project groups in the list.
- Expand All Groups: Expand all project groups in the list.
- Delete: Remove the group. This action does not delete the projects contained within the group.
Reorganizing Groups
You can easily reorder your groups to suit your workflow. Simply drag and drop a group tab to reposition it within the list.
File Management
Related Folders
Folders only display images associated with the selected project.

Available Actions:
- Import Folders (batch import not supported)
- Create Subfolders (only when a folder is selected)
- Move / Rename Folders (no duplicate names allowed)
- Delete Options:
- Delete from Evoto: Removes from the project, including items in Trash. Other projects are unaffected.
- Delete from Disk: Removes the folder and marks any shared images as missing in other projects. (Require writing&deleting access to disk)
- Note: Lost folders can be recovered using the Restore function.
Folder Refresh
Refreshing a folder synchronizes Evoto with any changes made outside the app. This includes:
- Metadata updates (star ratings, flags, color labels, EXIF/IPTC)
- New photos (automatically imported using Sync Folder)
Missing photos (automatically removed)
Collections
The Collections feature in Evoto allows you to group and organize photos from multiple projects without duplicating the original files. This is especially useful when you need to gather specific images for editing, reviewing, or exporting without altering their original project structure.
Location of Collections
The Collections tab is located in the Library panel, under the Related Folders section.
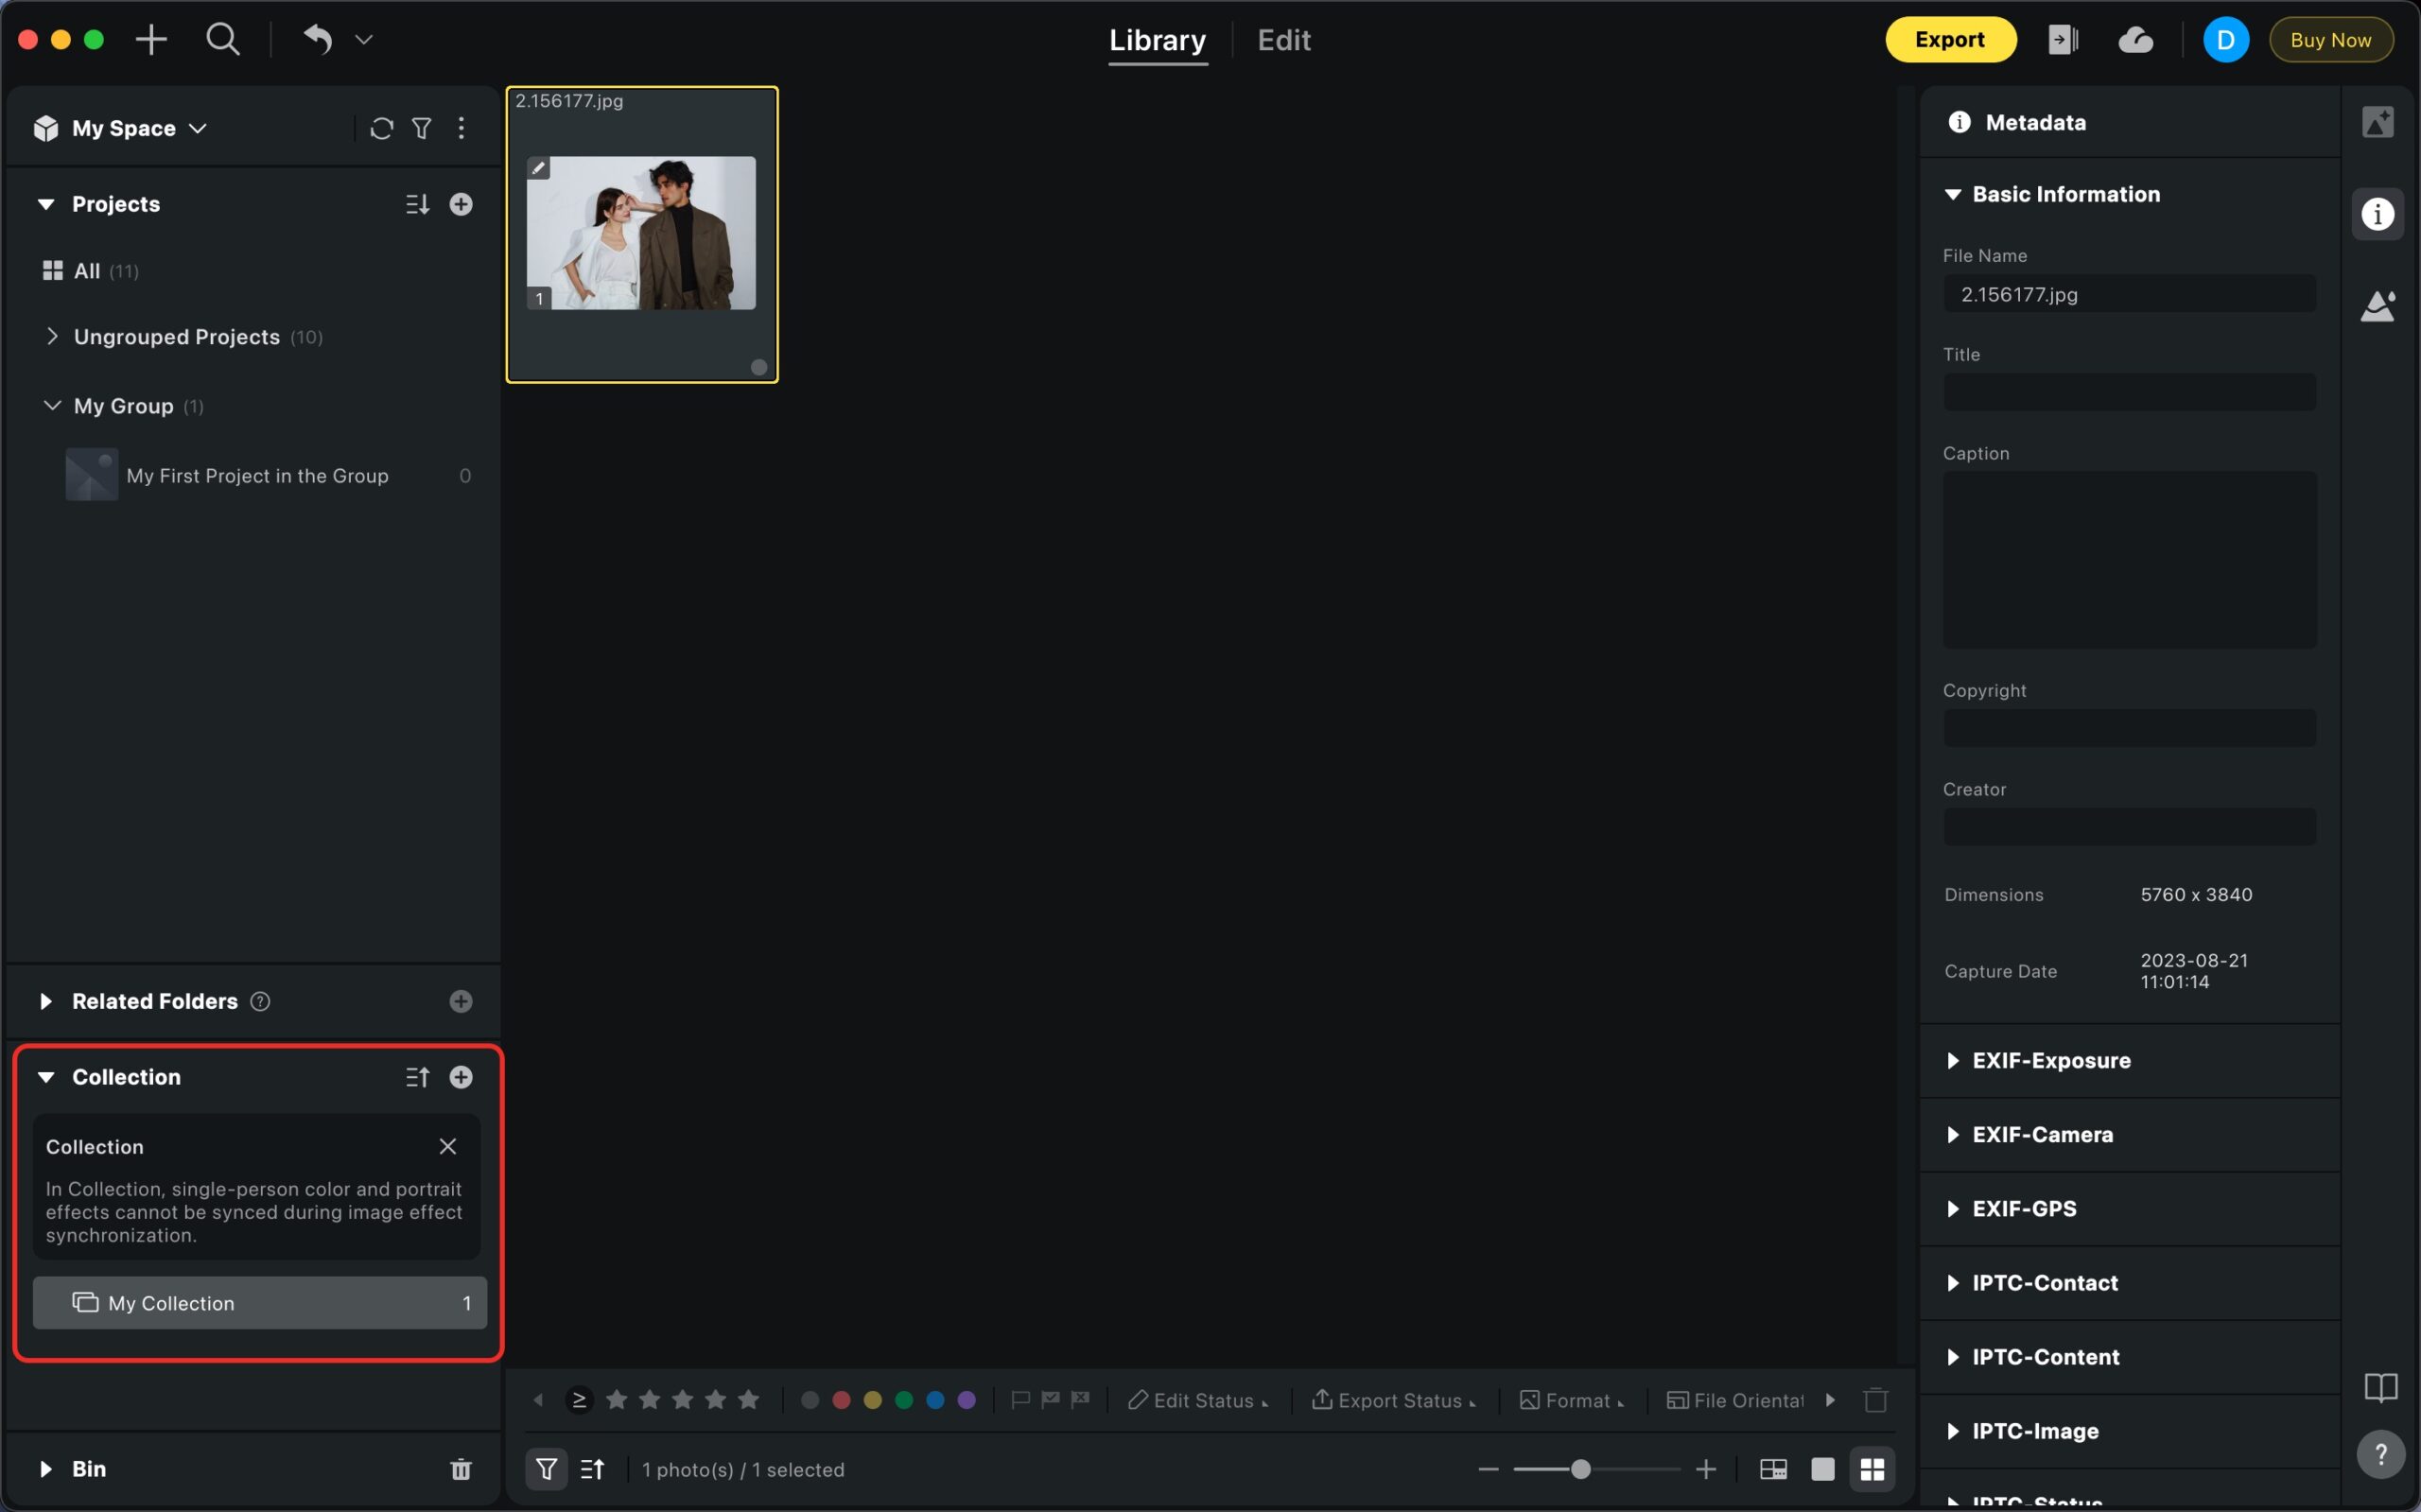
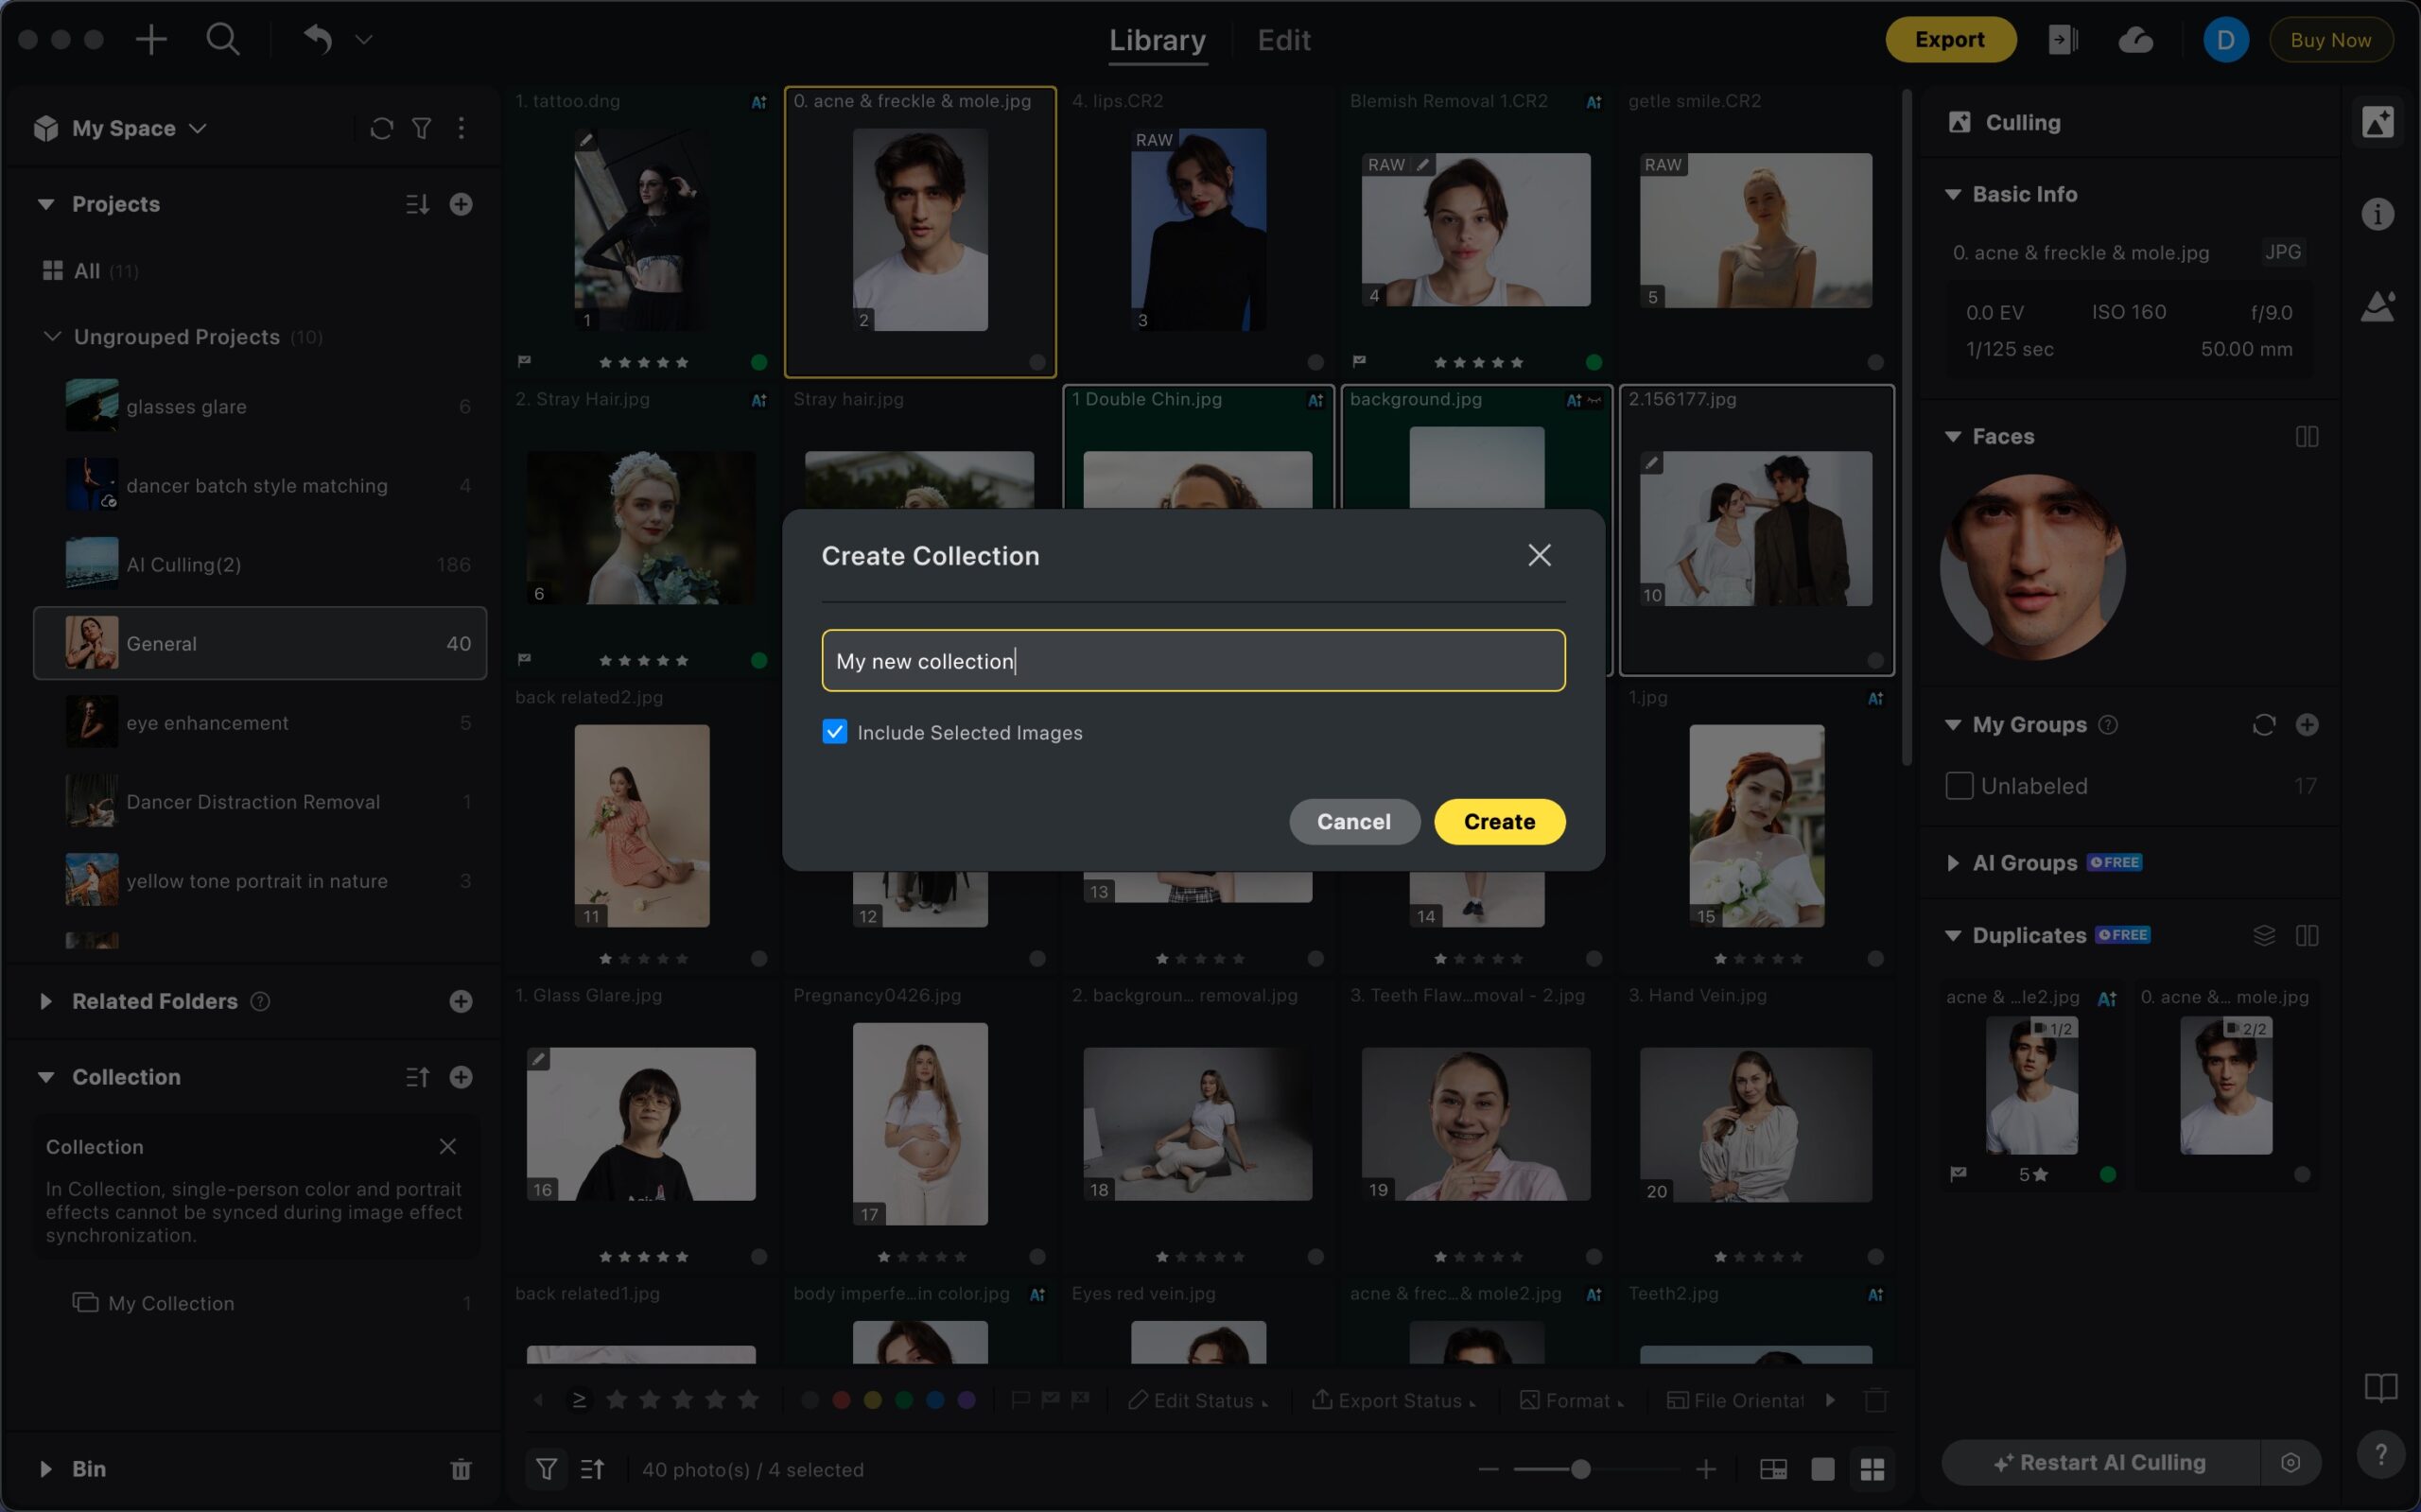
Creating a Collection
You can create a new collection using the “+” Button:
- Go to the Collections tab.
- Click the “+” button to create a new collection.
Adding Images to a Collection
- Drag and Drop Method: Drag images from a project and drop them into a collection.
- Include on Creation: When creating a new collection, select the option to add chosen images directly.
Sorting Collections
Collections can be sorted using the Sort button. Choose from available criteria such as name, date created, or custom order to keep your workspace organized.
Editing and Exporting from Collections
Photos in collections behave just like those in projects. You can:
- Apply edits using the full range of Evoto’s tools.
- Export images directly from a collection with the same options available in projects.
This ensures that collections are not just organizational tools but also functional workspaces for your editing workflow.
View Modes
Quick view shortcuts:
-
G – Grid View
-
D – Edit Mode
-
L – Large Image Mode (supports zooming in/out)
-
N – Survey Mode
Grid View (G)
Available Options:
- Batch operations, such as applying ratings, labels and effects presets.
-
Users can adjust grid view zoom levels via:
1. Slider Control – Drag the zoom slider in the bottom-right corner
2. Trackpad Gestures – Pinch-to-zoom (two-finger gesture)
Loupe View (L)
Loupe View provides a way to view a single image at a time, allowing for zooming and detailed inspection.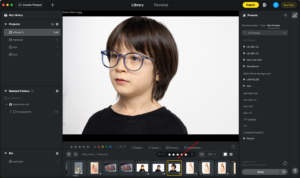
Survey View (N)
Survey Mode allows for viewing up to 12 images at a time in a side-by-side comparison view.
- Press N or click “Survey View” to visually compare multiple photos in a tiled layout (up to 12 images).
- Use Cmd+Click (Mac) or Ctrl+Click (Windows) to add or remove images.
- Click the X on the bottom right of an image, or press / to remove an image.
- At least one image must remain selected at all times.
- Star ratings, color labels, and selection/rejection marks can be applied directly when hovering over a given image.
- Note: Zooming in/out is disabled in Survey Mode.
Canvas Color
- The Canvas Background color can be changed by right-clicking in the Center Area and selecting the color. This option is available in Loupe, Survey, and Edit Views
- The Grid View uses the default canvas color and cannot be changed.
- Note: The canvas color is for viewing purposes only, and will not affect exporting.
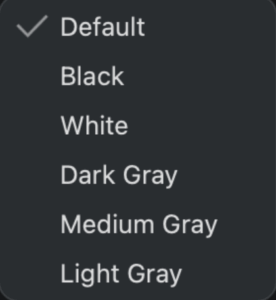
Image Selection and Navigation
- Single Image: Click to select.
- Multi-Select:
- Shift+Click: Select a range.
- Command+Click: Select individual images.
Switch navigation shortcuts:
- Loupe View (L):
- ← / ↑ = Previous image
- → / ↓ = Next image
- Grid View (G):
- ← / → = Navigate columns
- ↑ / ↓ = Navigate rows
If you press ↑ or ↓ outside the selection range, your selection will be cleared.
Image Labeling
Evoto provides several ways to label, pick, or rate your images. Below are the options with corresponding keyboard shortcuts.
- Color Labels:
- Red – 6
- Yellow – 7
- Green – 8
- Blue – 9
- Note: Repeating the same key removes the color label
- Flag Labels:
- Picked – P
- Rejected – X
- Remove Flag – U
- Star Ratings:
- ⭐️ – 1
- ⭐️⭐️ – 2
- ⭐️⭐️⭐️ – 3
- ⭐️⭐️⭐️⭐️ – 4
- ⭐️⭐️⭐️⭐️⭐️ – 5
- Remove ⭐️ Rating – 0 (Zero)
- Batch Labeling: Labels can be applied to multiple images at once in Grid View only
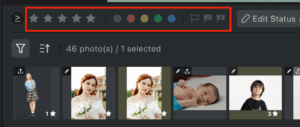
Filtering Images
You can open or close the filter menu with the keyboard shortcut (\).
![]()
Filters include:
- Star Rating
- Color Labels
- Flag Labels
- Edit Status
- Export Status
- Format (File Type)
- File Orientation
- Landscape
- Portrait
- Square
- File Name (Search Function)
- Camera
- Camera Lenses
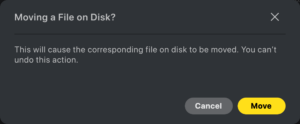
Moving and Copying Images
Moving
Actions that change file paths:
- Moving a folder into another
- Moving one or more images to a new folder
Notes:
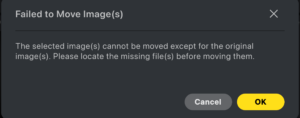
- If processing or exporting, moving may fail.
- Interrupting a bulk move may result in partial success.
- Permissions, storage space, and file status may affect the operation.
Copying
Dragging images between projects will copy them, including current effects. Once an image is copied to another project, it can be edited in one without affecting the other.
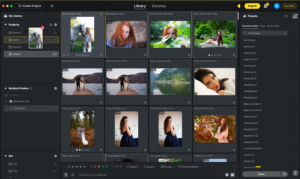
Image Right-Click Options
Right-clicking an image in Grid View will bring up a variety of options. These include:
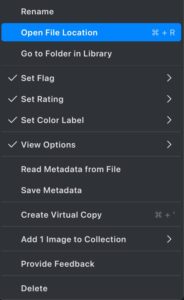
- Rename (also changes local file name)
- Open File Location
- Go to Folder in Library
- Set labels or ratings
- Provide feedback – Use this if you’ve encountered an issue or unexpected edit result and would like to provide feedback to our technical team.
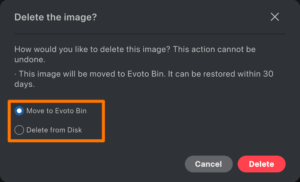
- Delete
- Move to Evoto Bin: Moves the image to the bin within Evoto and can be restored.
- Delete from Disk: Will move the file to your computer’s trash bin
Virtual Copy
Virtual copies allow users to create multiple independent adjustment versions based on the same underlying image data. Users can preview and compare multiple images side by side on the same page, efficiently evaluate differences, and quickly export the best results.
Create a Virtual Copy
-
Right-click the image and choose Create Virtual Copy
-
Shortcut: Ctrl/Cmd + ’
-
Supports creating virtual copies from existing virtual copies
-
Supports batch creation from multiple selected images
Characteristics:
-
Inherits metadata and tags from the original image, but does not include editing history.
-
Displayed in the grid view of Library workspace as “Copy 1”, “Copy 2”, etc.
-
Remains grouped with the original image for sorting, filtering, and folder movement. (Virtual copies cannot be copied or moved independently.)

-
Deleting the original image also deletes its virtual copies; restoring the original image restores all its copies.
-
AI Culling analyzes only the original image; results are synchronized to all virtual copies.
-
During export, virtual copies are considered the same as the original image and are not charged twice.
Special Cases FAQ
Non-Movable File Locations
Folders located in system-protected paths cannot be moved within Evoto. These restrictions help maintain system stability and prevent file access errors.
The following folders cannot be used as move destinations:
| Windows | MacOs |
|
C:\Users\<username>\Desktop C:\Users\<username>\Document |
/Users/<username>/Desktop /Users/<username>/Documents /Users/<username>/Downloads /System /Applications /Library /bin, /sbin, /usr /private /Volumes |
Missing Source Files
- Files were deleted or moved
- DNGs without original RAW files
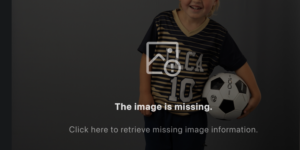
If some files are missing during a move, the valid ones will still transfer. There is currently no pop-up for missing files.
Permission Issues

- Destination is read-only (e.g., external drives, cloud folders)
- Evoto cannot write to synced folders like iCloud or Dropbox
Storage Limitations
- Not enough space in the destination location
Folder Nesting Conflict
- Cannot drag a folder into its parent or subfolder
Duplicate Folder/File Names
- Duplicate names block the move
- Non-conflicting files will move; no alert is shown for skipped files


