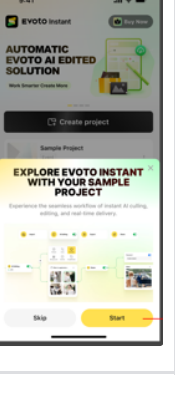
Welcome to Evoto Instant — your all-in-one imaging workflow tool that takes you from capture to delivery in seconds. With automated shooting, AI culling, AI retouching, and instant sharing, Evoto Instant helps you work smarter and deliver professional results faster. This guide introduces the full workflow so you understand how photos move from capture to delivery, and how Evoto’s AI helps along the way.
Step 1: Download and Log In
Begin by installing the Evoto Instant app from the App Store or Google Play.
- Log in with your Evoto Account using email or phone number.
- If you don’t already have an account, you can sign up directly in the app.
- Your Evoto Account works across Evoto Desktop, Evoto iPad, and Evoto Instant, and your Evoto Credits are shared between all products.
Once logged in, you’ll land in the home page — the control center where all your projects live. From here, you can create new projects, adjust workflows, and access galleries.
You can also log in via the Evoto Instant web portal, which allows you to pre-configure project settings, while the mobile app serves as the capture and import tool.
Uploaded photos are synced and shared across both platforms automatically.


Step 2: Create a Project
Projects are the foundation of Evoto Instant. A project organizes your photos, AI settings, and delivery options in one place. You can create a project either from the Evoto Instant web portal or directly from the mobile App.
When creating a new project, you can:
- Name your project (e.g., “Johnson Wedding 2025” or “Brand Campaign – Q3”).
- Add an optional date or time range.
- Configure AI Culling and choose an AI Edit effect or No Effect depending on your needs.
- Choose export settings: Manual export for full control, or Auto export for real-time delivery.
- Customize your project workspace with branded banners or watermarks.
Think of projects as your event or client folders — everything you capture and share flows through them.
Step 3: Connect Your Camera
Evoto Instant supports two tethered shooting methods:
- Wired Connection (USB/OTG)
- Works with most Android phones, iPhone 15, and older iPhones with OTG adapters.
- Ideal for stable, fast transfers when you’re shooting on location.
- Works with most Android phones, iPhone 15, and older iPhones with OTG adapters.
- FTP Wireless Connection
- Works with cameras that support FTP transfer (e.g., Nikon Z series, Sony, Canon professional bodies).
- Connect both your camera and phone to the same Wi-Fi or hotspot.
- Configure the FTP server address, port, and credentials displayed in Evoto Instant.
- Works with cameras that support FTP transfer (e.g., Nikon Z series, Sony, Canon professional bodies).
Once connected, you’ll see a confirmation in the app, and your camera is ready to start feeding photos into the project.

Step 4: Shoot and Let AI Do the Work
As soon as your camera is connected, you can begin shooting. Photos are imported directly into your active project, where AI takes over:
- AI Culling filters out photos with closed eyes, blurs, poor exposure, or duplicates, leaving you only the best shots.
- AI Editing applies professional-grade retouching presets, skin tone balance, color adjustments, and more — automatically or with project-wide consistency.
You still have the option to fine-tune individual photos, but most of the heavy lifting is handled automatically in the background.


Step 5: Deliver a Branded Experience
Every project can be customized to reflect your brand or your client’s event:
- Add up to five watermarks per project.
- Create branded banners and gallery designs that match the event style.
These finishing touches turn your delivery from a simple gallery into a professional showcase.

Step 6: Share Instantly
With photos processed, you’re ready to deliver them. Evoto Instant makes sharing as flexible as your event requires:
- Full Gallery — Share all event photos through a single open gallery.
- FaceKey Gallery and Personal Gallery — FaceKey lets visitors search by face, while Personal Gallery gives a specific participant private access to their own photos.
- Delivery Options — Send links via QR code, SMS, or email. You can also use password-protected galleries for extra security.
- FaceKey Gallery — Guests can upload or take a reference photo to find matching photos in the gallery.
This ensures that every attendee receives their photos quickly, privately, and in the way that’s easiest for them.
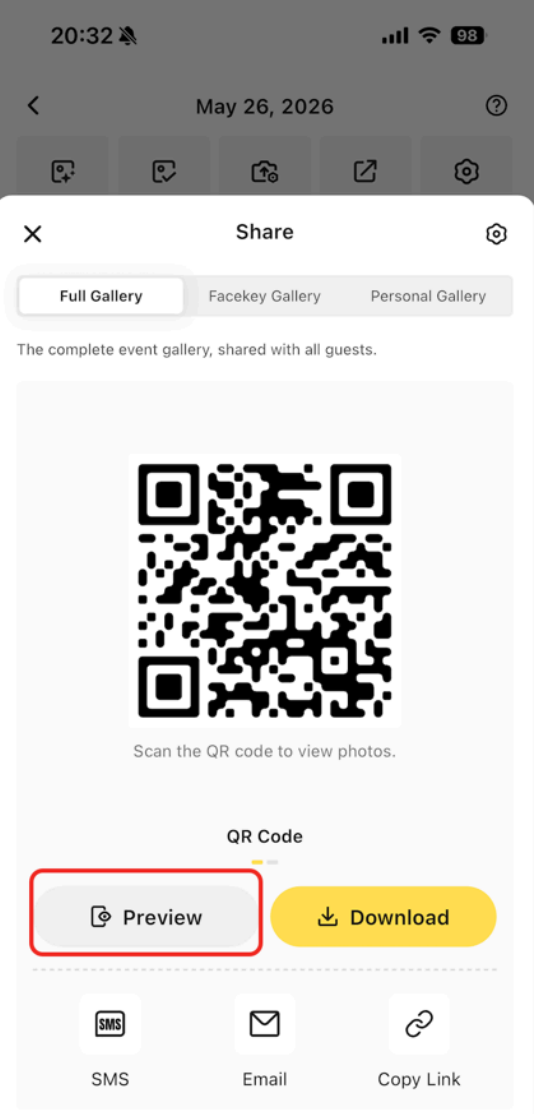
In Evoto Instant, the entire imaging workflow Shoot → Cull → Edit → Share happens in just seconds. By combining camera tethering, cloud sync, AI automation, and instant sharing, Evoto Instant saves you time while elevating the guest experience.
This overview is your starting point. Explore the following guides to dive deeper into each stage of the workflow, from hardware setup to advanced AI functionalities.
Sample Project and Current Workflow
New users can explore Evoto Instant with the Sample Project before using real event photos. The walkthrough demonstrates the core workflow: AI Edit, AI Cull, Import, Review, and Preview & Share. Inside the Sample Project, you can also upload up to 10 of your own photos for free experimentation with watermarking and gallery setup.
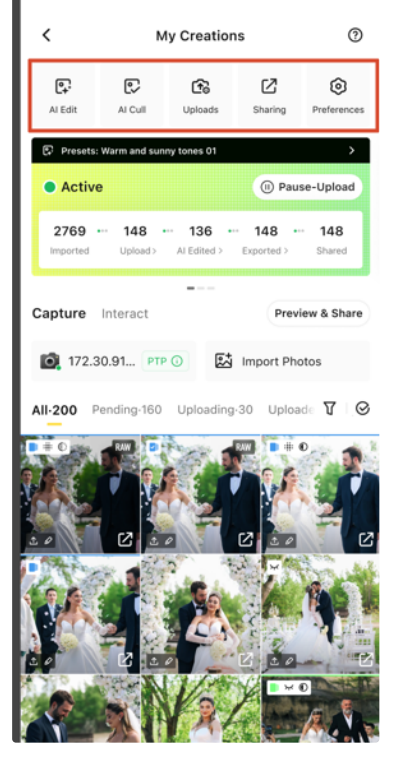
In the current workflow, open a project and use the project home settings bar to access AI Edit, AI Cull, Uploads, Sharing, and Preferences. For delivery, use Full Gallery, FaceKey Gallery, or Personal Gallery depending on how visitors should access their photos.