Evoto Tool Bar
Evoto provides a comprehensive and convenient set of manual editing tools to help users make precise, natural-looking image adjustments. The Tool Bar includes Move, Liquify, and Healing tools, enabling greater flexibility in retouching and enhancing images.
Search Tool
The Search Tool helps users quickly locate features or projects within Evoto, depending on what workspace you are in (Library or Edit).
![]()
- Located at the top-left corner, or use shortcut Command + F.
- Searches through:
- Library Workspace:
- Project Names
- Edit Workspace:
- Feature group names
- Sliders in the Feature Module
- Tools in the Tool Bar
- Library Workspace:
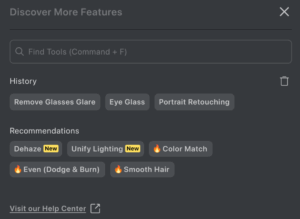
Search Tool Features:
- Displays search history and recommendations.
- Can be dragged freely on screen.
- Supports keyboard navigation (⌘F on Mac or Ctrl+F on PC).
- Clicking outside the panel will deactivate it and return to the editing preview.
- Results show the exact path and associated shortcut.
- If a result is inside a collapsed section, it will auto-expand.
Note:
While the Search Tool is active, module-switching shortcuts are temporarily disabled. To reactivate them, click outside the Search Tool panel.
Reset Effects
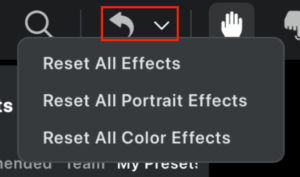
This dropdown provides options to revert applied edits:
- Reset All Effects: Restores the image to its original state by removing all applied effects.
- Reset All Portrait Effects: Removes only the effects applied within the Portrait Retouching module.
- Reset All Color Effects: Removes only the effects applied within the Color Adjustments module.
Liquify Tool
The Liquify Tool allows users to manually adjust image shapes and contours. It is recommended to apply AI-based effects from the Feature Module first, and then use Liquify for detailed refinements.
![]()
After making adjustments, click “OK” in the lower-right corner to apply the effect.
Available Liquify Tools
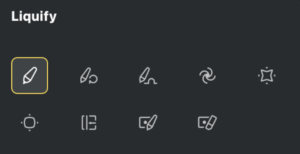
- Forward Warp Tool
Pushes, stretches, or reshapes specific areas as you drag the cursor.
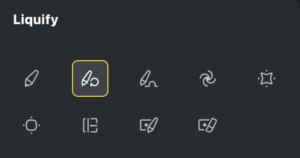
- Reconstruct Tool
Reverses distortions previously applied.
- Smooth Tool
Softens image details for a more even, polished appearance.
- Twirl Clockwise Tool
Rotates pixels in a clockwise direction while held or dragged.
- Pucker Tool
Pulls pixels toward the center of the brush, creating a compressed or folded effect.
- Bloat Tool
Pushes pixels outward from the center, making areas appear fuller.
- Push Left Tool
Moves pixels to the left for a horizontal shift effect.
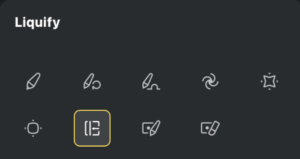
- Freeze Mask Tool
Protects selected areas from changes by applying a mask. These areas remain unchanged during liquefaction.
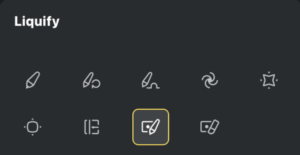
- Thaw Mask Tool
Removes the frozen mask, allowing previously protected areas to be edited.
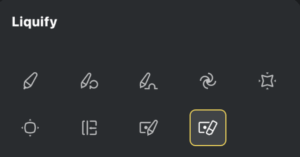
Liquify Tool Settings
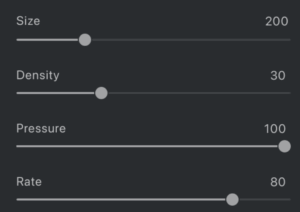
Note: not all settings are available for every tool
- Size
Adjusts the size of the brush. - Density
Controls the strength of the distortion. Higher values create denser effects. - Pressure
Determines how strongly the liquify effect is applied. - Rate
Sets the responsiveness of the tool to cursor movement.
Additional Options
- Pin Edge Enable
Locks the outer edge of the image to prevent distortion in those areas. - Show Mask Enable
Toggles the visibility of the freeze mask applied using the Freeze Mask Tool.

Healing Tool
The Healing Tools help repair image defects by blending texture and color from surrounding areas, allowing users to remove blemishes or imperfections with natural-looking results.

Spot Healing Brush Tool
Automatically samples nearby pixels to repair selected areas.

- Size – Adjust the size of the brush.
- Hardness – Adjust the softness or sharpness of the brush edges.
Patch Tool
Uses a source area to repair a destination area based on the pattern of the selected source.
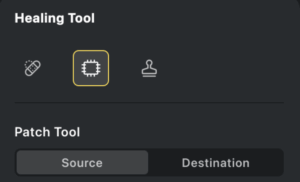
- Source – Select the area to sample from.
- Destination – Apply the sampled pattern to the target area.
Clone Stamp Tool
Copies pixels from one part of the image to another, useful for duplicating or removing specific elements.
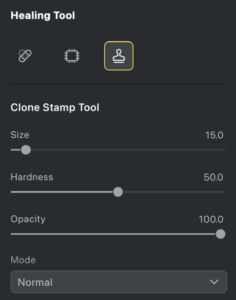
- Size – Adjust the tool size.
- Hardness – Adjust the hardness for sharper or softer edges.
- Opacity – Controls the transparency of the cloned area. Lower opacity allows for subtle blending with the background.
Available Clone Stamp Modes
- Normal
- Multiply
- Screen
- Lighten
- Darken


