iPad Tool Bar
The iPad Tool Bar in Evoto offers a range of advanced editing functions such as Liquify, Healing, Undo/Redo, and History, all optimized for a touch interface and Apple Pencil compatibility.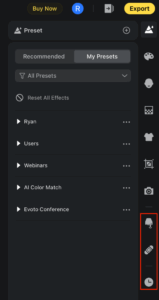
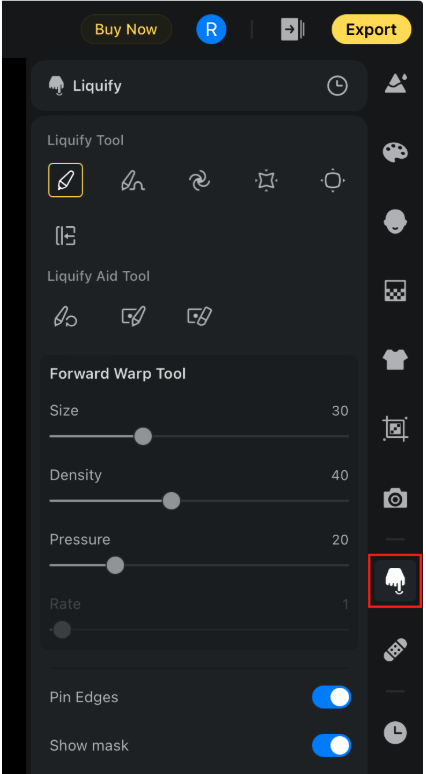
Liquify Tool
The Liquify Tool provides intuitive brush-based distortion effects. Default brush settings are optimized for iPad. Custom settings are saved per device. You can switch between different retouching tabs during Liquify editing without interrupting your workflow.
Main Liquify Brushes
- Forward Warp Tool
Pushes, stretches, shrinks, or expands parts of the image as you drag. Useful for reshaping features or adjusting proportions. - Smooth Tool
Softens detailed or uneven areas to create a more polished, even surface. Ideal for refining skin or fabric textures. - Twirl Clockwise Tool
Rotates pixels in a clockwise direction as you hold or drag. This creates a swirling effect that can add motion or distortion. - Pucker Tool
Pulls pixels toward the center of the brush, creating a pinched or tightened effect—similar to folds in fabric, paper, or skin. - Bloat Tool
Pushes pixels outward from the brush center, causing the area to appear fuller or more expanded. - Push Left Tool
Moves pixels horizontally to the left, creating a lateral displacement that shifts the appearance of the image along the brush path.
Liquify Aid Tools
- Reconstruct Tool
Gradually reverses distortions applied with other Liquify tools, restoring the image to its original state in specific areas. - Freeze Mask Tool
Protects specific areas from being affected by Liquify adjustments. Use the brush to paint a mask over parts of the image you want to remain unchanged. - Thaw Mask Tool
Removes previously applied freeze masks, allowing those areas to be edited again.
Brush Adjustments
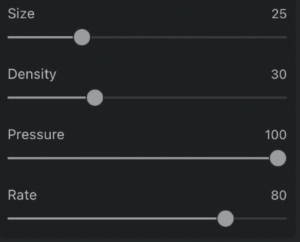
Each Liquify tool includes adjustable sliders to fine-tune the effect:
- Size
Controls the diameter of the brush, determining the area affected by the liquify tool. - Density
Adjusts how concentrated the effect is within the brush area. Higher density results in stronger, more centralized distortion, while lower density spreads the effect more gently. - Pressure
Sets the intensity of the applied force. Higher pressure creates more pronounced changes; lower pressure results in subtler adjustments. - Rate
Controls how quickly the distortion responds to brush movements. A higher rate produces faster, more dramatic changes, while a lower rate allows for more gradual, precise adjustments.
Pin Edge
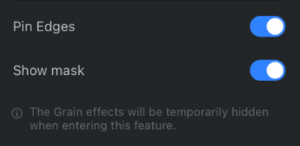
The Pin Edge feature helps protect the outer edges of your image during Liquify adjustments. When enabled, it prevents distortion near the edges, preserving the original structure and avoiding unintended warping. This is especially useful when refining features close to image borders while keeping overall composition intact.
Show Mask
Toggle the visibility of the Freeze Mask overlay. When off, masked areas will not be displayed, but the protection still applies.
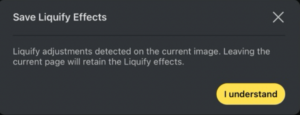
Navigation Note
You can export or return to the Project Page while in the Liquify tool. A prompt will appear, confirming that liquify changes will be preserved.

Shortcuts and Gestures
Shortcuts (with external keyboard)
- Option (⌥) – Toggle between rotation and Push Left direction.
Apple Pencil (2nd/3rd gen)
- Double-tap – Switches between the last two brushes used.
- If no brush switch history exists, it toggles between:
- First tap: Reconstruct Tool
- Second tap: Forward Warp Tool
- First tap: Reconstruct Tool
- If no brush switch history exists, it toggles between:
Touch Gestures
- Two-finger tap – Undo (continuous tap supported).
- Three-finger tap – Redo (continuous tap supported).
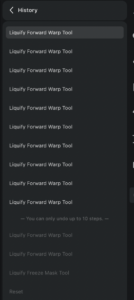
- Undo Limit: Up to 10 steps. The Liquify history will show 10 steps maximum. Older steps will be grayed out.
![]()
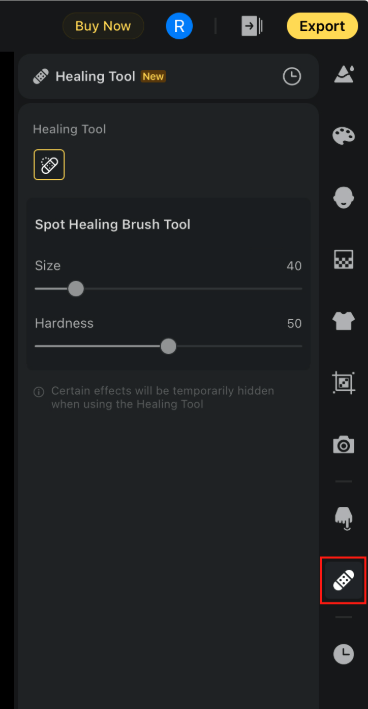
Healing Tool
The Healing Tool is located at the bottom of feature modules and allows for seamless corrections across various editing tabs.
- The current brush status (size, hardness) is shown in the center of the canvas when zooming or adjusting.
- You can switch between Portrait, Clothing, and Background modules without losing Healing corrections.
- Changes are auto-saved when switching tabs or exporting.
Note: Switching to another tab will clear the Healing Tool history, and previous healing steps cannot be restored.
Undo & Redo
Buttons are located at the top-left corner of the interface.
External Keyboard Shortcuts:
- Undo: Command (⌘) + Z
- Redo: Command (⌘) + Shift + Z
- On Windows keyboards: Win + Z
History
A History Panel is available at the bottom of the right-side toolbar.
- Select any step in the list to revert to that point in editing.
- If effects were applied before exiting the app, reopening will preserve your edits and offer two options:
- Snapshot of Last Modified Image
- Original Image
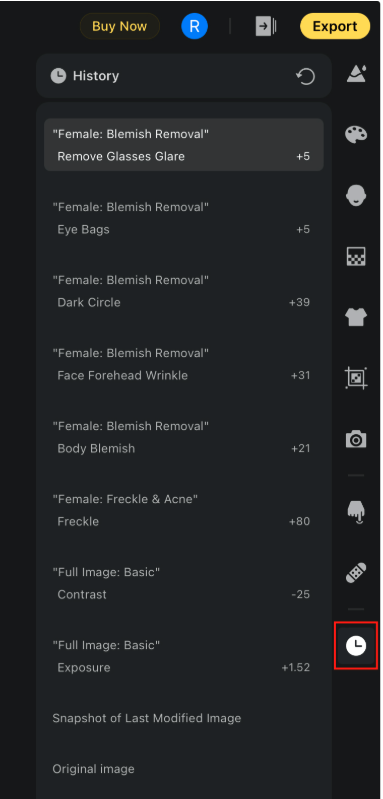
- Note: Detailed steps for Liquify and Healing will appear as a single summary step in History, showing only the final result.


