This guide provides step-by-step instructions to configure your Sony camera and iPad for wired tethered shooting with Evoto. Following these instructions will help ensure a stable connection and optimal image transfer directly from your camera to your iPad.
1. iPad Setup & Cable Selection
The type of data cable and adapter you’ll need depends on the port on your iPad.

iPad Data Cable Interfaces
- USB Type-C: Most iPad models released after 2021 feature a USB Type-C port. These iPads can typically connect directly to a camera using a compatible USB-C to USB-C or USB-C to USB-A/B data cable (depending on your camera’s port).
- Lightning: Most iPad models released before 2021 feature a Lightning port. Since Lightning data cables do not directly support OTG (On-The-Go) functionality required for direct camera connection, you will need to use a Lightning to USB-A adapter that has OTG capability.
Camera Data Cable Interfaces
Cameras can have various types of data cable interfaces (e.g., USB-A, USB-B, USB-C, Mini-USB, Micro-USB). Ensure your cable or adapter setup matches both your iPad’s port and your camera’s port.
- Specific camera models supported by different data cables can be referenced in the table below

- Additional Note: For other camera models not explicitly mentioned, please refer to your camera’s configuration and interface type to determine the correct cable. The information above serves as a general reference.
Enable Software Permissions
Before connecting, ensure Evoto has the necessary permissions on your iPad:
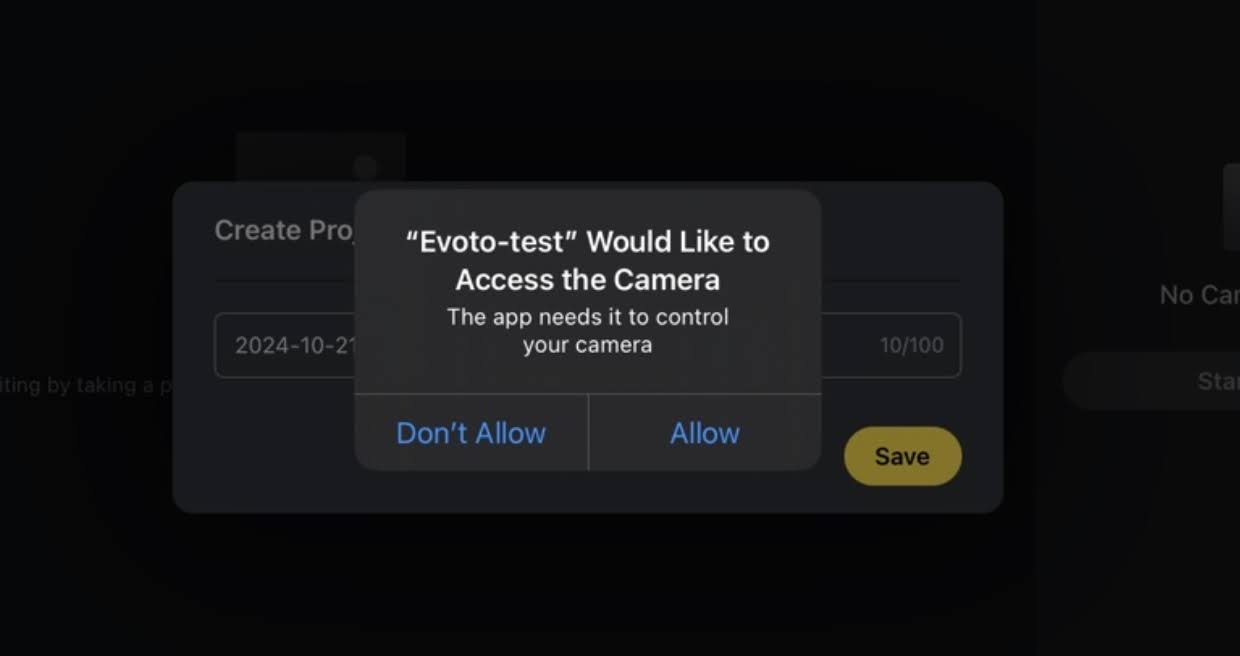
- When you first open Evoto and enter a project, a prompt will appear: “Evoto would like to access the camera.” Please tap “Allow” to grant these permissions.

- If you accidentally tapped “Don’t Allow,” you can go to your iPad’s Settings app to manually enable camera permissions for Evoto.

- macOS (for specific file access scenarios, though less common for direct iPad-to-camera): For macOS 15.0 and above systems (relevant if the iPad is used as a bridge to a Mac for file transfer, though not direct tethering), you may need to turn on File & Folders permission in Privacy & Security -> Removable Volumes.


Connection Overview
The iPad with a Type-C port can be connected directly to a camera using a data cable. The iPad with a Lightning port requires an OTG Lightning adapter (or Lightning to USB Camera Adapter) to connect.
Note: A memory card must be installed in the camera for tethered shooting to function properly.
2. Sony Camera Settings (for Wired Tethering)
Adjust these settings on your Sony camera to prepare it for wired tethered shooting with your iPad:
A. Power Saving Mode
To avoid disconnection during inactivity, it is crucial to adjust your camera’s power settings.
- Power Save Start Time: Set to Off.
- Auto Power OFF Temp.: Set to High.

- Example for Sony 7RM5: Navigate to Power Settings and adjust the above two options accordingly.
B. USB Connection Mode (Remote Shooting)
You need to enable the specific remote shooting mode for tethering.

- For ILCE-7RM5, 7CR, 7CM2, 7M4, 6700, ZV-E1, ILME-FX3/FX30:
- MENU → (Setup) → [USB] → [USB Connection Mode] → [PC Remote]
- For ILCE-7SM3, ZV-E10M2, ILCE-1, 9M3:
- MENU → (Setup) → [USB] → [USB Connection Mode] → [Remote Shooting]
- For ILCE-9M2, 7RM4A, 7RM4, 7C, ZV-E10:
- MENU → (Network) → [Ctrl w/ Smartphone] → [Ctrl w/ Smartphone] → Off
- MENU → (Network) → [PC Remote Function] → [PC Remote Cnct Method] → Select method
- MENU → (Network) → [PC Remote Function] → [PC Remote] → On
- For ZV-1:
- MENU → (Network) → [Ctrl w/ Smartphone] → [Ctrl w/ Smartphone] → Off
- MENU → (Network) → [PC Remote Function] → [PC Remote] → On
- For other models:
- MENU → (Network)/(Wireless) → [Ctrl w/ Smartphone] → Off (if available)
- MENU → (Setup) → [USB Connection] → [PC Remote]
- Note: Some models may not include the [Ctrl w/ Smartphone] setting.
C. USB Settings
Adjust these specific USB-related settings for stable wired operation.
- USB LUN Setting:
- Menu Path: Menu → USB → USB LUN Settings → Single.
- USB Power Supply:
- Set to Off.
- Set to Off.

D. PC Shoot Destination
Set the photo save destination to ensure images are transferred correctly.
- Set the photo save destination to “Dest. + Camera” for a stable connection.

- Note: This setup requires a memory card to be inserted in the camera.
E. Camera Firmware Version
For optimal performance and compatibility, ensure your Sony camera is running the latest firmware version. Firmware updates often include bug fixes, performance improvements, and enhanced tethering stability.
- To check your firmware version: Navigate through your camera’s menu, typically under a Setup → Version section.
- To update firmware: Visit Sony’s official support website, locate your specific camera model, and follow their instructions for downloading and installing the latest firmware.


