The Blemish Removal section in Evoto allows for precise and natural corrections to a wide range of facial and body imperfections, helping you maintain the integrity and realism of the original image while enhancing overall appearance.
Freckle & Acne Removal
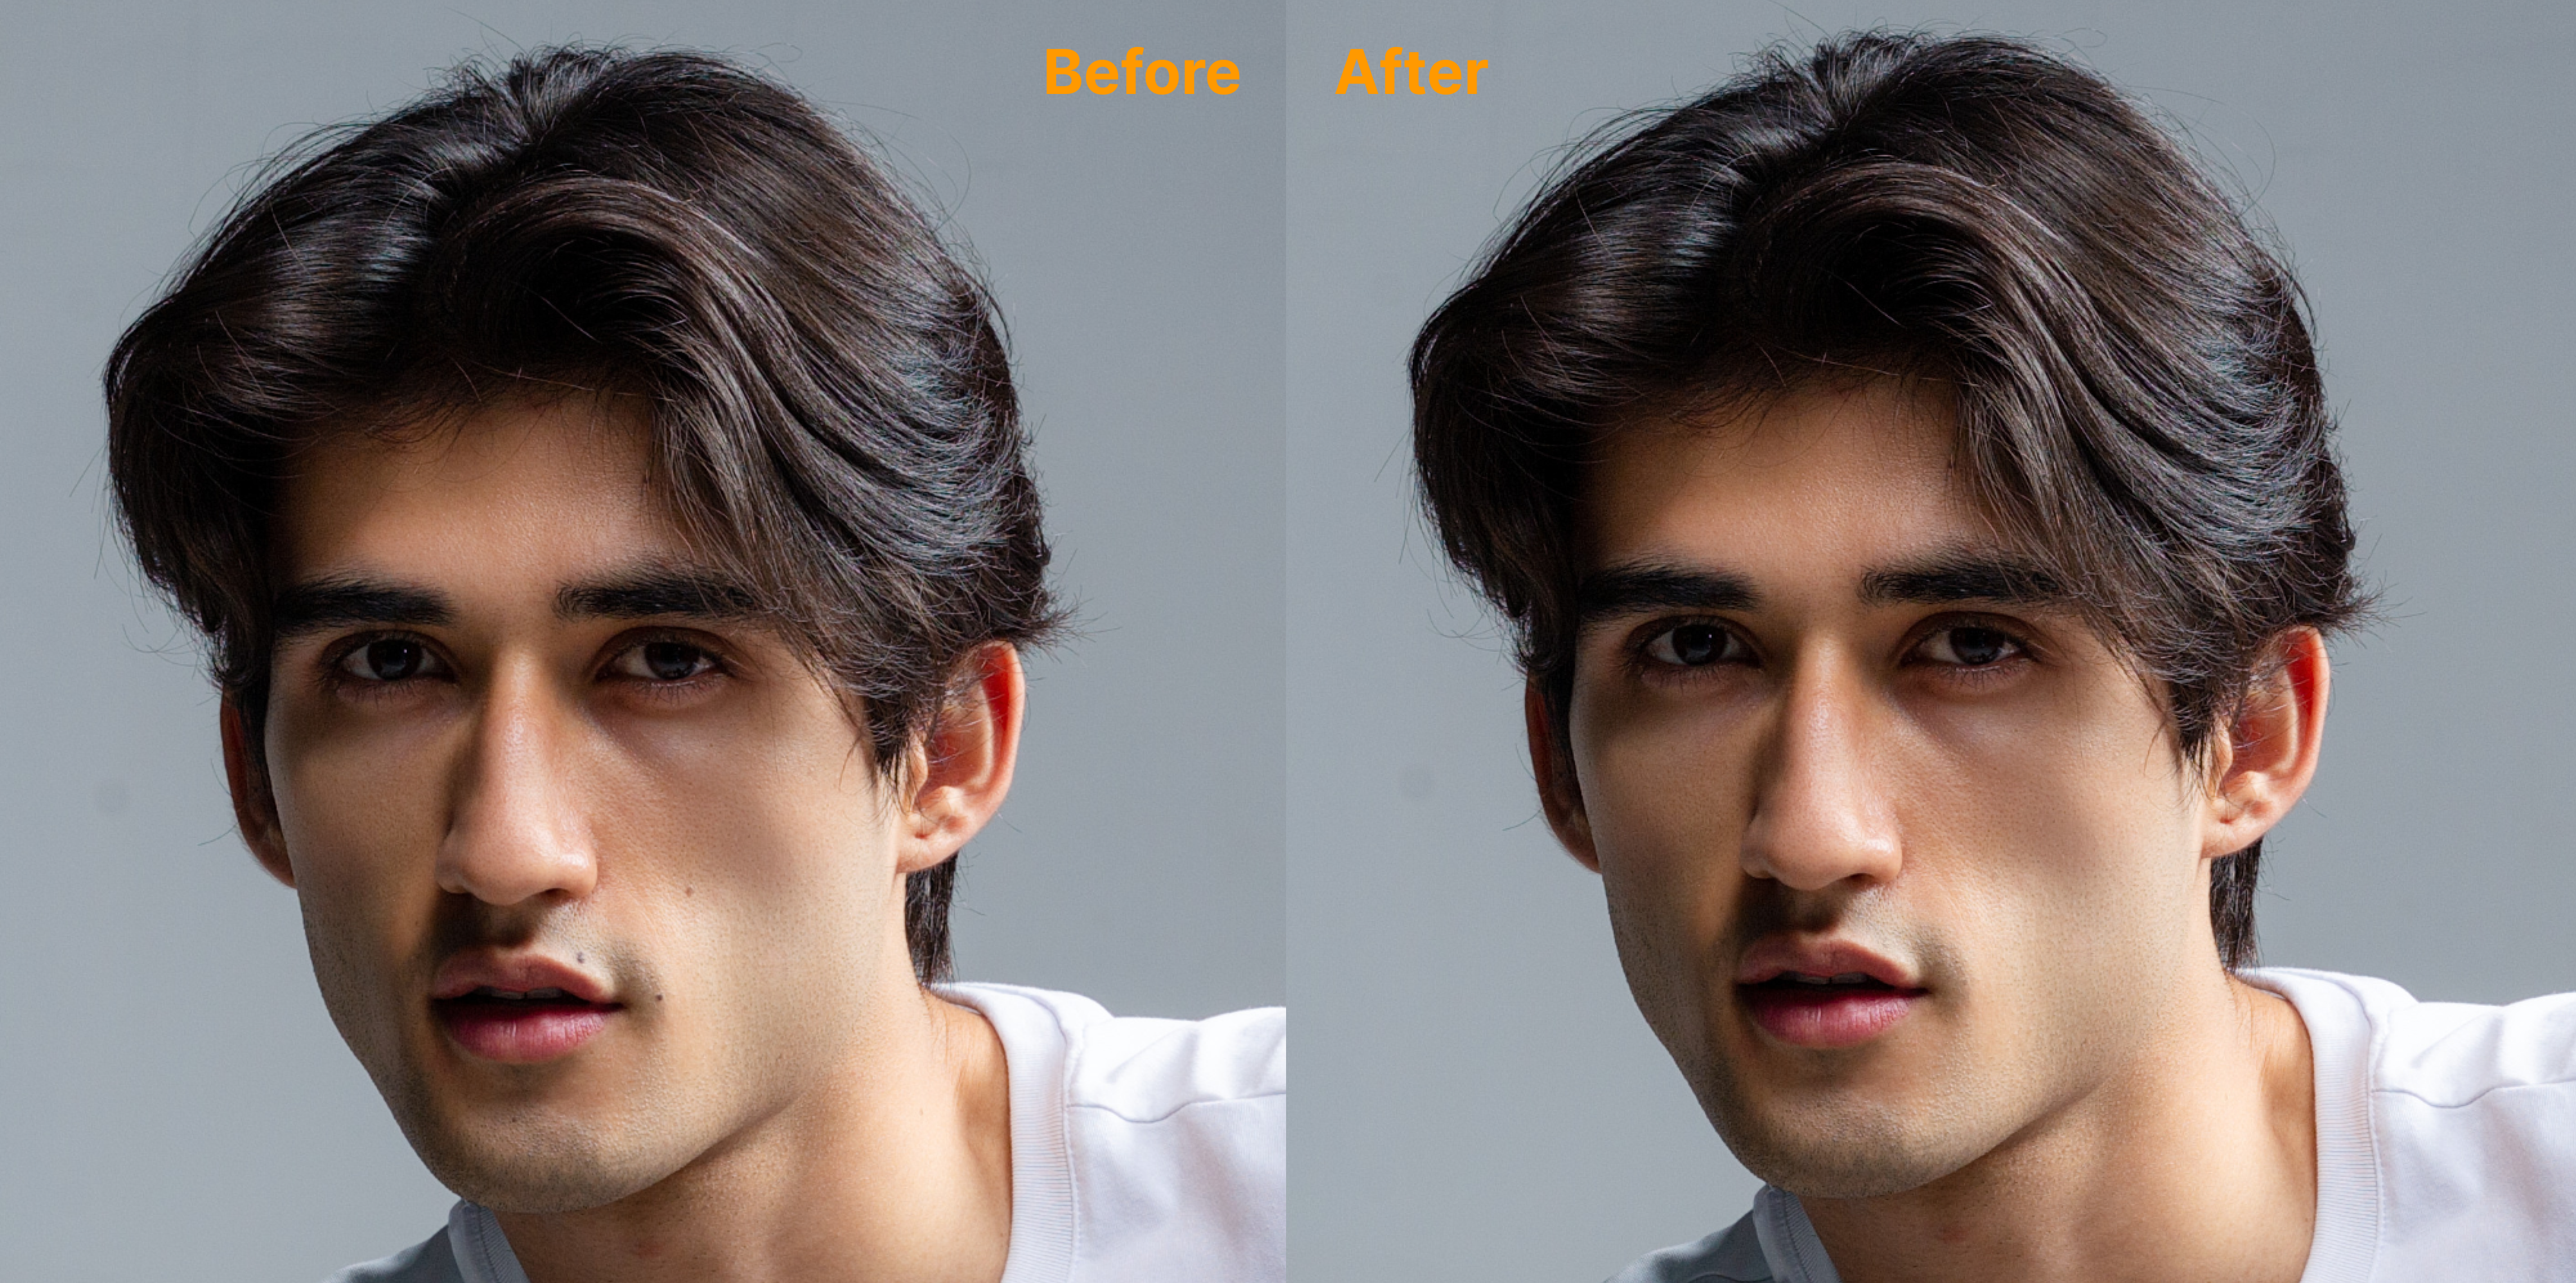
Evoto uses AI technology to remove freckles and acne, achieving smooth, polished skin without sacrificing natural texture or vibrancy.
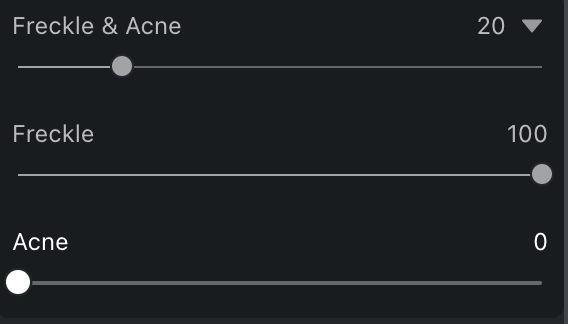
- Move the slider or enter a value to control the effect strength.
- Freckles and acne are treated separately for finer control.
- Freckle: Adjust freckles on the face using the dedicated slider.
- Acne: Use the acne slider for spot or breakout removal.
- The individual Freckle & Acne sliders will become available only after activating the main feature toggle.
Face Mole
- With one click, you can remove mole spots from the face.
- If there are moles you wish to keep, use the Manual Tuning Pen (mentioned above) to restore them.
Reduce Face Shine
This tool detects oily highlights on the face and minimizes them while preserving natural skin texture and depth.
Dark Circles
The Dark Circle slider is designed to reduce pigmentation and shadows beneath the eyes, which often make subjects appear tired or stressed.
How it works: Move the slider to the right to gradually lighten the under-eye area. This adjustment helps to brighten the eyes and reduce signs of fatigue, creating a more vibrant and alert expression.
Eye Bags and Lower Eyelids Protection
- Removes puffiness or sagging under the eyes that result from loose or swollen skin.
- The Lower Eyelids protection includes built-in protection for the natural puffiness of the lower eyelids, which can contribute to a youthful and expressive appearance.
By default, the preservation level is set to 100, ensuring that while eye bags are reduced, the natural shape and volume of the lower eyelids remain intact. You can adjust this level as needed for your desired result.

Glass Glare Removal
Quickly remove glare caused by glasses using a single slider.
(Note: This feature does not currently support color-tinted glasses.)
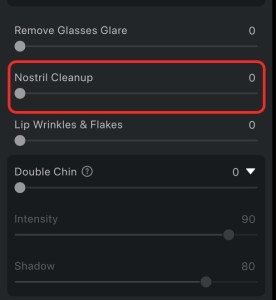
Nostril Cleanup
The Nostril Cleanup feature removes dirt, debris, and other blemishes around the nostrils and surrounding areas.
Notes: Supports manual brush adjustments for precise control of the effect.
Lip Wrinkles & Flakes
Repairs dry or cracked lips by smoothing out lines and restoring a fuller, more defined lip shape.

Double Chin
Applies a subtle liquify effect and shadow blending to minimize the appearance of a double chin while maintaining facial realism.

Beard Protection
Prevents beards from being accidentally altered during blemish removal. This feature is always active when facial hair is detected.

Facial Wrinkles
Evoto includes specialized sliders for different facial wrinkle zones:
- Forehead Wrinkle: Smooths horizontal lines on the forehead.
- Eleven Lines: Targets vertical lines between the eyebrows.
- Eye Wrinkle: Removes fine lines around the eyes.
- Nasal Wrinkle: This slider focuses on softening the horizontal lines that appear on the bridge of the nose, between the eyes. It helps reduce distractions in this area while maintaining a natural look.
- Smile Line: Eliminates lines around the mouth running from the nose to the corners of the mouth.
- Features independent left and right sliders for precise adjustments.
- By default, sliders are linked. Click the link icon to adjust each side separately.
- Cheek Wrinkle: This slider targets the wrinkles that form on the cheeks, often when a subject smiles. It gently reduces these lines while preserving the unique character and expression of the face.
- Marionette Lines: Smooths vertical lines that extend downward from the corners of the mouth.
- Perioral Wrinkle: This slider works on wrinkles around the mouth area. It helps remove the wrinkles near the lips while keeping the subject’s natural features intact.
Body Refinement Tools
Evoto also supports advanced blemish and texture control for body areas:
- Body Blemish: Removes acne, marks, or irregularities on the body.
- Infant Body Blemish: Activated only when a character is identified as an infant. Ideal for removing dry skin or minor imperfections.
- Neck Wrinkle: Smooths out lines and creases on the neck.
- Armpit Touch-up: Removes visible armpit fat and smooths the underarm area.
- Stomach Stretch Marks: Designed for women, this slider removes stretch marks around the abdomen. – Includes a Pregnancy Line sub-slider for precise adjustments to linea nigra (pregnancy line).
Tattoos with Manual Masking Tool

- Activate the Tattoos toggle to enable manual tattoo editing.
- Use the brush tool to add or erase masks on the image.
- Enable Show Original Image and Mask to view masked areas in real time.
- Once editing is complete, click OK to save and view the result.
Manual Tuning Pen for Blemish Removal
The blemish removal feature comes with a Manual Tuning Pen that allows you to brush on or erase effects applied to specific areas of the photo.

- Use it to fine-tune or reverse automated enhancements.
- Click OK to confirm and apply your changes.


 日本語
日本語 한국어
한국어 Español
 繁體中文
繁體中文 Português
 Tiếng Việt