Creating a New Preset
To create a new preset:
The preset library continues to grow over time. Recent mobile updates expanded preset content with more trend-driven and event-ready looks, making it easier to find styles for festival scenes, warm portraits, dreamy glow edits, and film-inspired grades.
- Tap the Save Preset button located in the bottom right corner.
- Enter a preset name.
- Select the appropriate preset category.
- Choose which effects to include in the preset.
- Tap Save to complete the process.

Tip: Presets that include AI Look or similar smart color behavior can still be adjusted through color sliders after application, so you can keep one-tap styling while fine-tuning the final result.
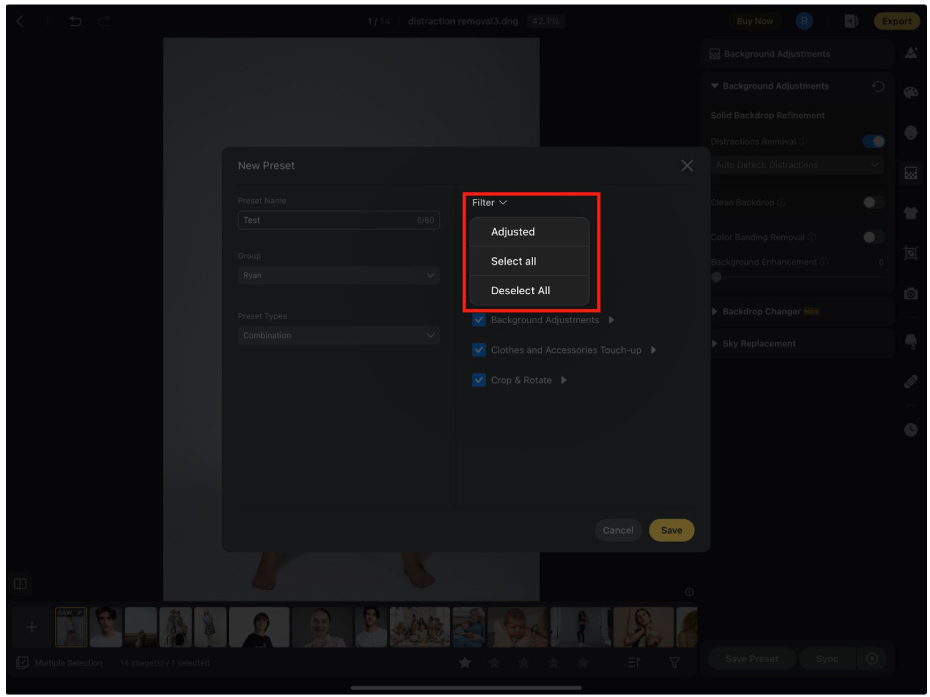
Effect Filtering Options
When saving a preset, you can quickly filter which effects to include:
- Default – Saves all default effect settings.
- Adjusted – Saves only the sliders or adjustments you have modified.
This allows for precise control over what each preset contains.
Managing Your Presets
- Share, Rename or Delete: Long-press on any preset to bring up options to Share, Rename or Delete Preset.
- Additional Features:
- Import Presets
- Share Presets
- Filter Presets
- View Type Tags (e.g., identifying presets by category or effect type)
- Import Presets
Preset Groups
Preset Groups help you organize presets by shoot type, lighting conditions, or editing style.
To create a new group, tap the + icon in the top right corner of the Presets menu, then select Create New Group. When saving a new preset, you can choose which group to save it under for better organization.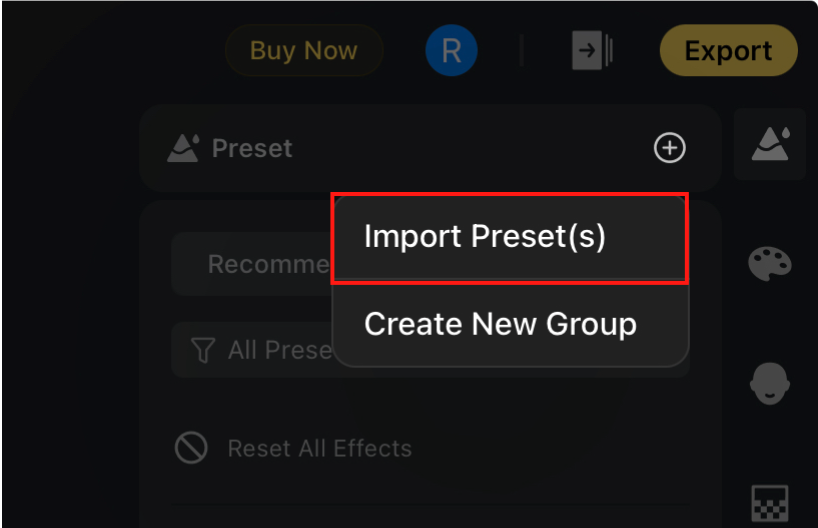
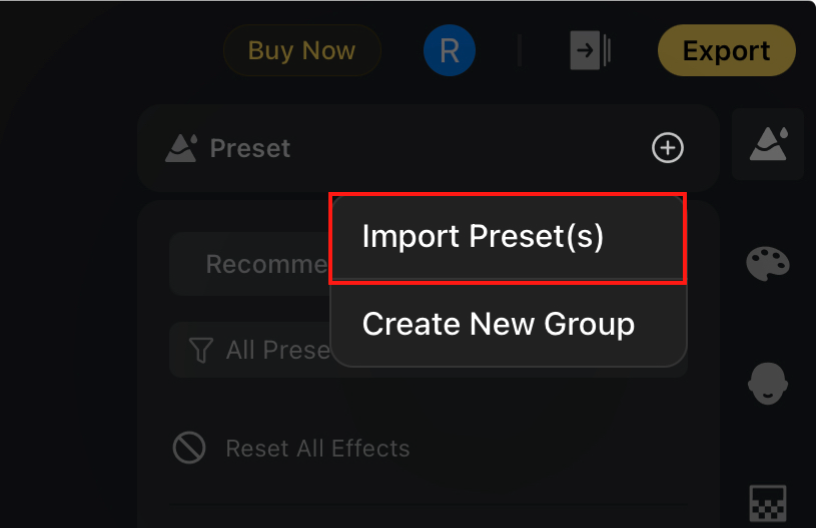
Importing Presets
To import presets from another device or user, tap the + icon in the top right corner of the Presets menu and select Import Preset(s). Enter the preset token provided, and the preset will be added to your My Presets list.
Hot Preset Category
The Preset module includes a Hot category for curated styles. Hot content helps surface useful looks faster and may be adjusted through service-side configuration.


