What is AI Color Match?
AI Color Match lets you automatically match the color tone and visual style of one image to another. By using a reference image, this tool harmonizes exposure, color temperature, tone, and local details across your entire set. It simplifies the editing process by using semantic recognition to intelligently adjust skin tones, hair color, clothing, and even environmental elements such as skies and indoor lighting.
This is especially useful for photographers looking to maintain visual consistency across large photo batches or varied lighting conditions.
How to use AI Color Match?
Step 1: Access the AI Color Match Panel
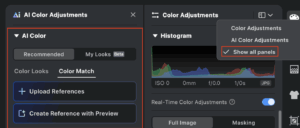
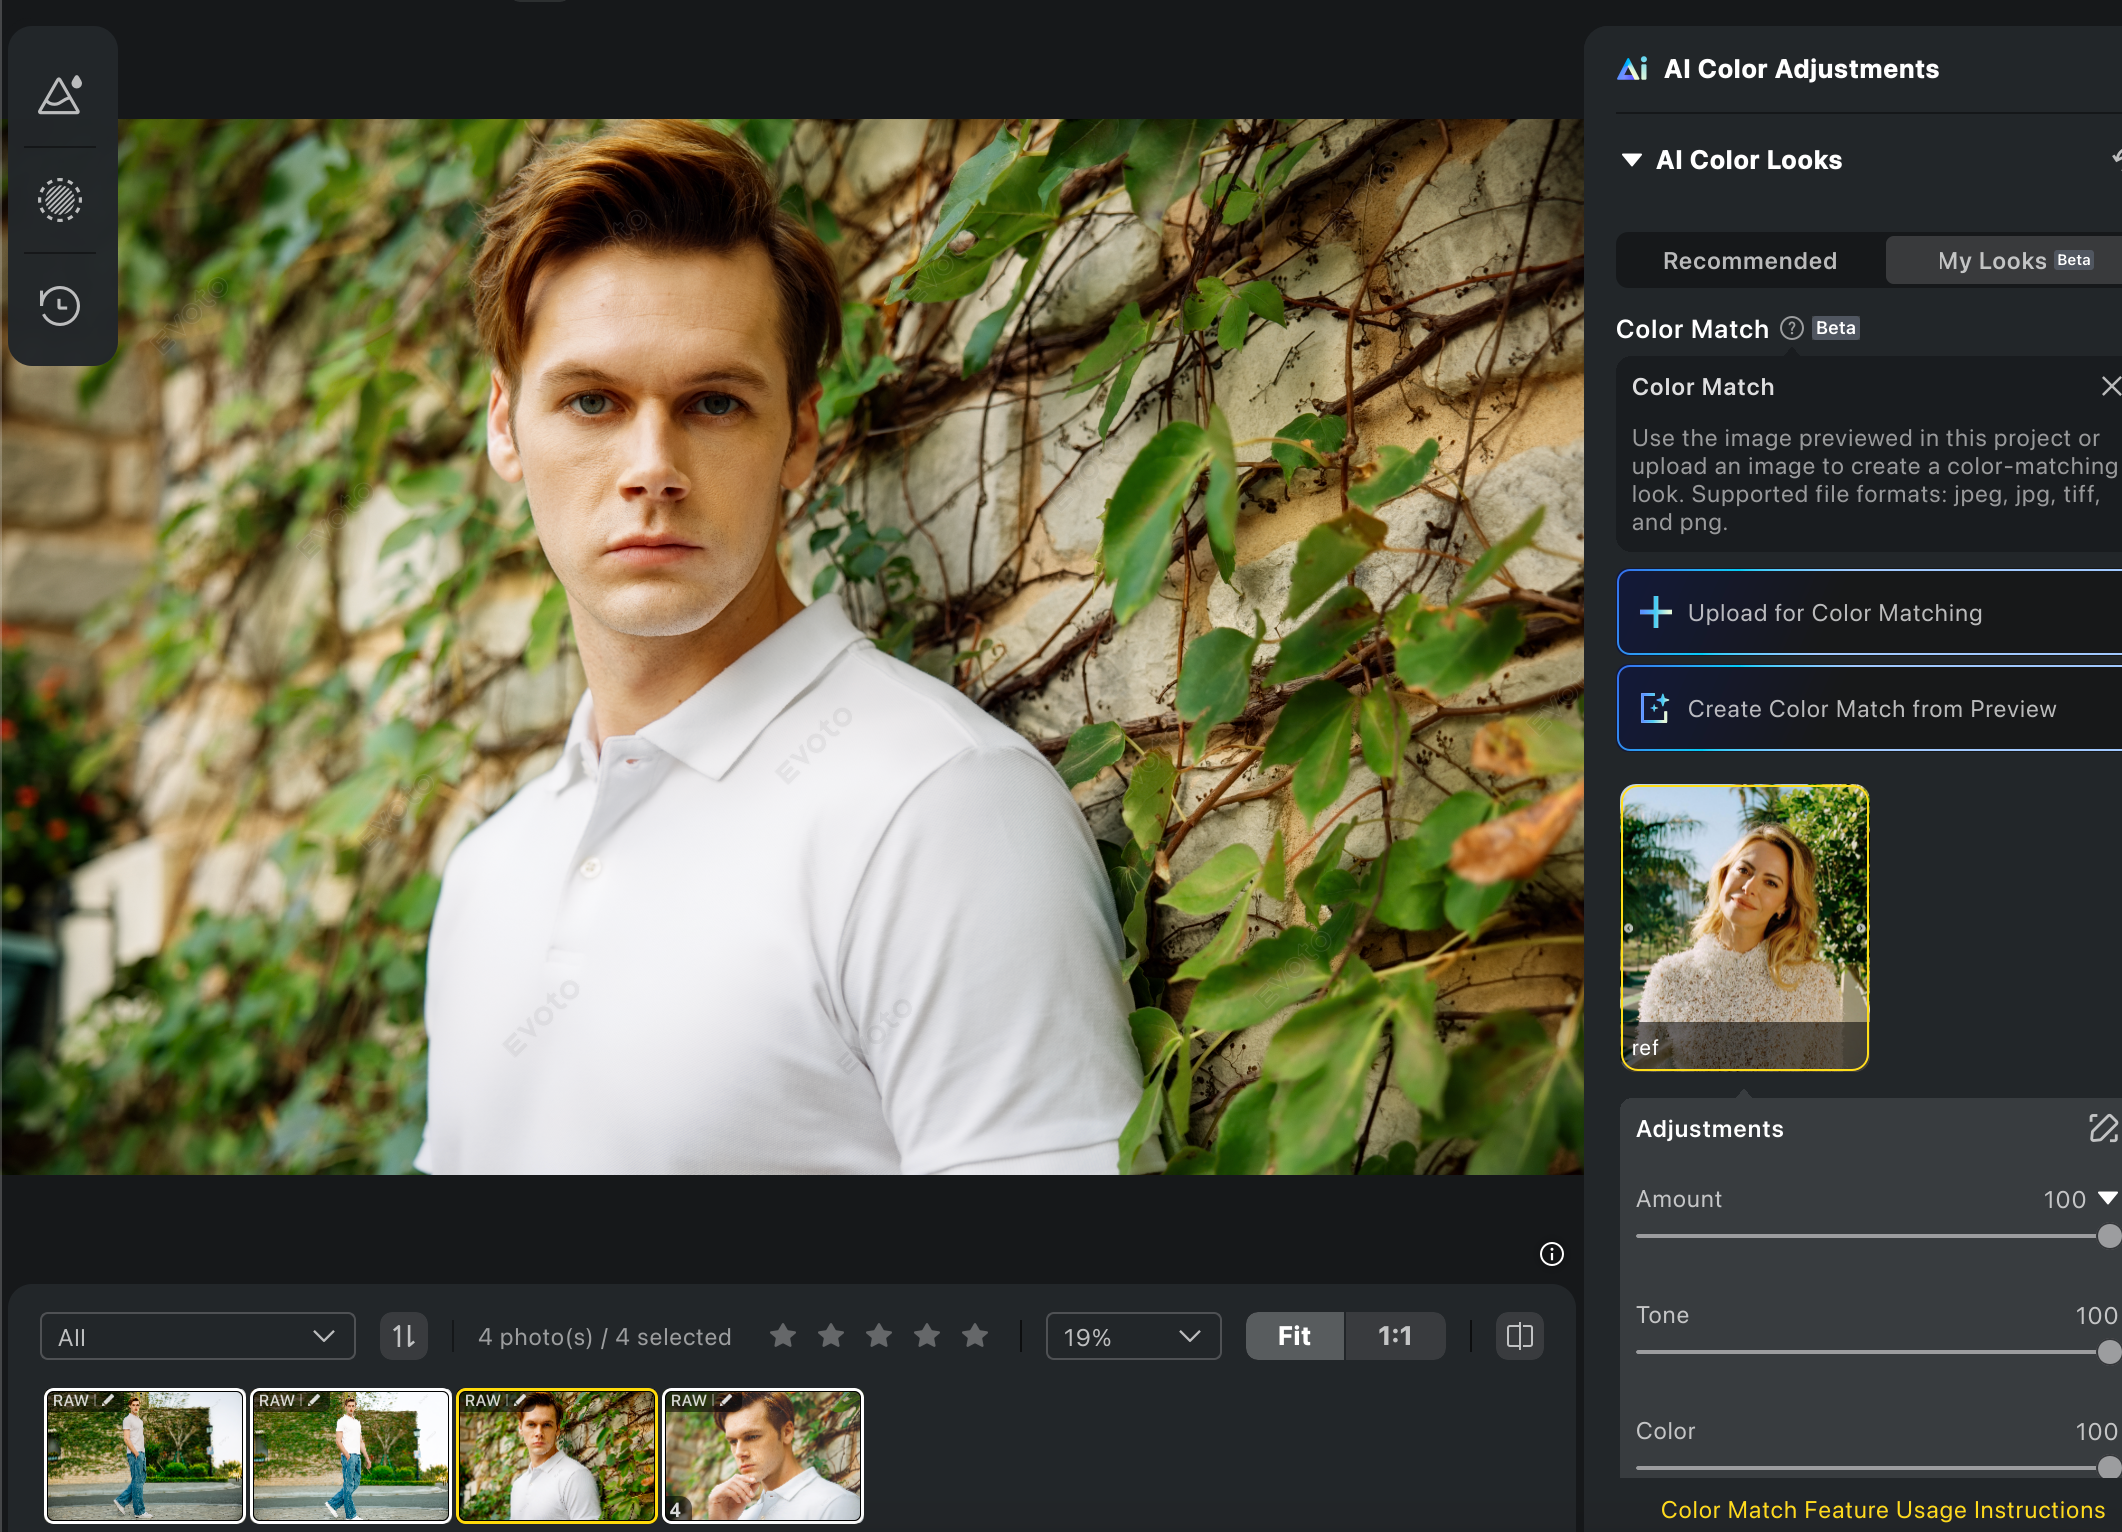
You can find AI Color Match under the Color Adjustments feature panel:
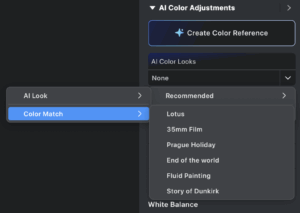
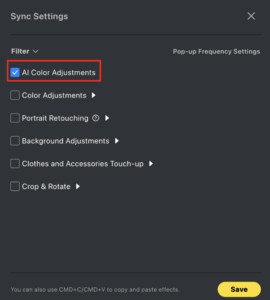
If only AI Color Adjustments is active, AI Color Match appears under both the Recommended and My Looks tabs.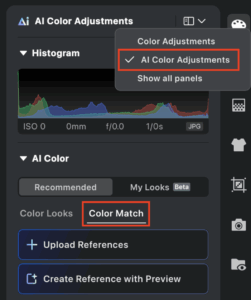
If all panels are shown, AI Color Match will appear under the AI Color Looks section.
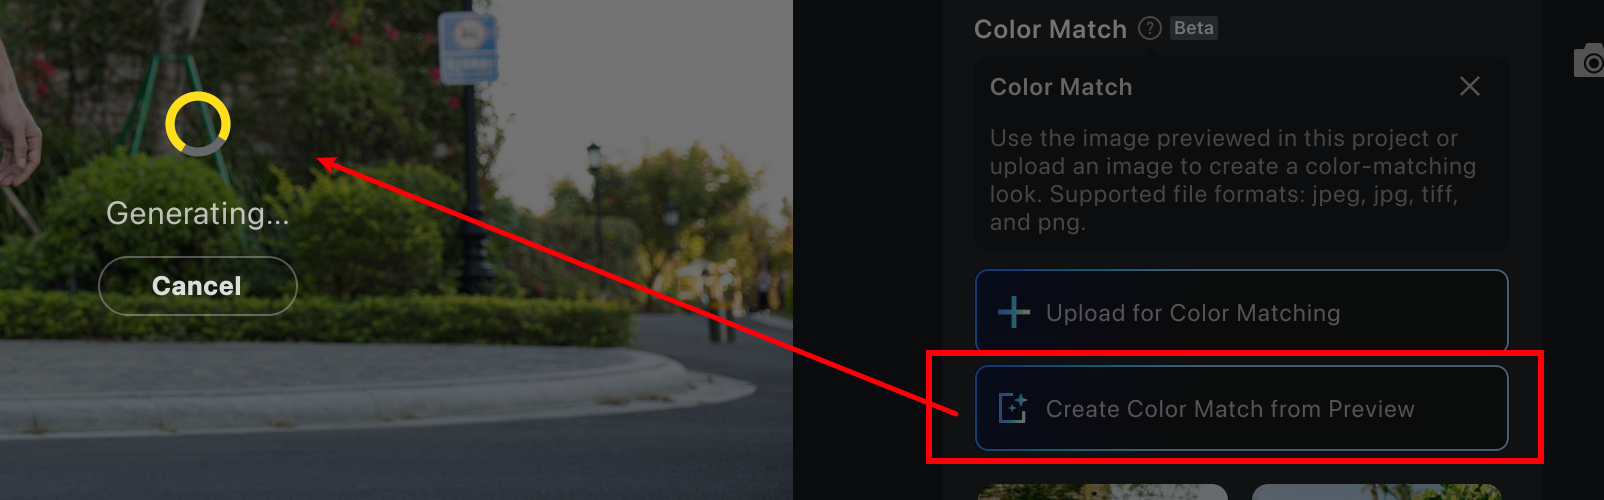
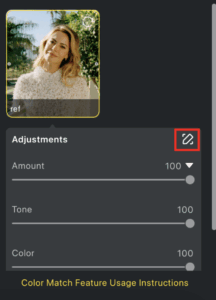
Step 2: Set a Reference Image
There are two ways to set a reference image for color matching:
- Upload a local image: Click Upload for Color Matching to select a JPG, TIFF, or PNG file from your device.
- Use the current preview: Click Create Color Match from Preview to use the currently displayed image as your reference, even if multiple images are selected.
Step 3: Apply the Reference Colors
Once a reference is selected:
- The algorithm will analyze its visual style and automatically apply adjustments to the selected target image.
- Elements such as clothing, skin, and backgrounds will be matched intelligently using semantic recognition.
- You can switch between different references to match other images accordingly.
Step 4: Fine-Tune the Result
After applying AI Color Match, you can adjust the results in two areas:
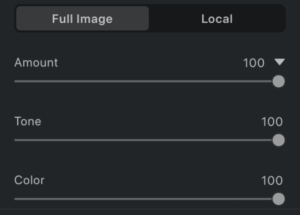
Full Image Adjustment
Use sliders to modify the following:
- Amount: Controls the overall intensity of the match.
- Tone: Adjusts brightness and contrast.
- Color: Alters overall color tones.
Local Adjustment
Click the fine-tune icon to access mask-based editing. Supported masks include:
- Face and body skin
- Hair
- Eyes, lips, and teeth
- Clothes
- Background and other local regions
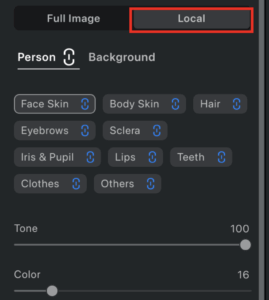
You can:
- Adjust tone and color intensity per mask
- Use the link icon to synchronize changes across all masks, or unlink them for precise, independent adjustments
Step 5: Apply in Bulk or Save as a Preset
Batch Sync
To apply the same AI Color Match across multiple images:
- Copy the settings (Ctrl+C or Cmd+C)
- Select your target images
- Paste the settings (Ctrl+V or Cmd+V)
Important: Ensure AI Color Adjustments is enabled during syncing, or the changes won’t be applied.
Save as Preset
- After applying AI Color Match and making additional edits, click Save Preset
- This allows you to reuse your customized color style in future projects
- Make sure AI Color Adjustment is selected when saving
AI Color Match: Quick Mode vs. Control Mode
The AI Color Match feature has been upgraded to give you more flexibility and control. You can choose between Quick Mode and Control Mode, depending on your needs.
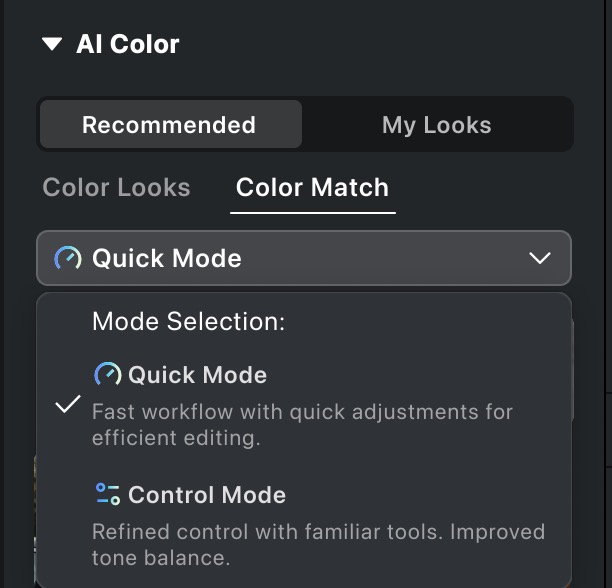
Quick Mode
- Best for: Fast results when you want a smooth, automatic color match.
- How it works: This mode functions just like introduced above. It is fast, simple, and requires no additional adjustments.
Control Mode
- Best for: When you need more detailed control over your color matching with a reference image.
- How it works:
- Once applied, the profile automatically switches to Basic.
- The color match adjustments are applied directly to each slider for transparency and fine-tuning.
- A local mask is automatically created for the AI color adjustments, with corresponding changes applied to each mask for fine control.
Tip: Use Quick Mode when you need fast results, and use Control Mode when you want full visibility and fine control over the adjustments.
Tips for Best Results
- Use reference images with similar lighting, background, or subject matter for more accurate results
- You can use an already-retouched target photo as a reference to batch-sync style across an entire shoot
- If you use third-party software for grading, import .XMP or .CUBE files into Evoto, apply them to an image, then use that image as your reference
Notes
- Applying AI Color Match will clear all existing color edits and reset sliders
- You can undo the change to restore previous settings
- Additional color adjustments can still be applied after AI Color Match is used
Workflow Examples
Wedding Photography: Style Consistency Across the Day
To maintain a consistent tone throughout a wedding gallery:
-
Choose a well-edited image that reflects the desired style
-
Apply AI Color Match to all images from the event
-
Fine-tune as needed and save the result as a preset
This saves time and ensures color harmony across different locations and lighting conditions.
Tethered Shooting: Real-Time Matching During a Shoot
For studio or live event photographers:
- Pre-define a reference image or create one during setup
- Save it as a preset using AI Color Match
- Apply the preset in real time as images are captured
This approach helps deliver polished, consistent visuals from the start and cuts down on post-processing time.


